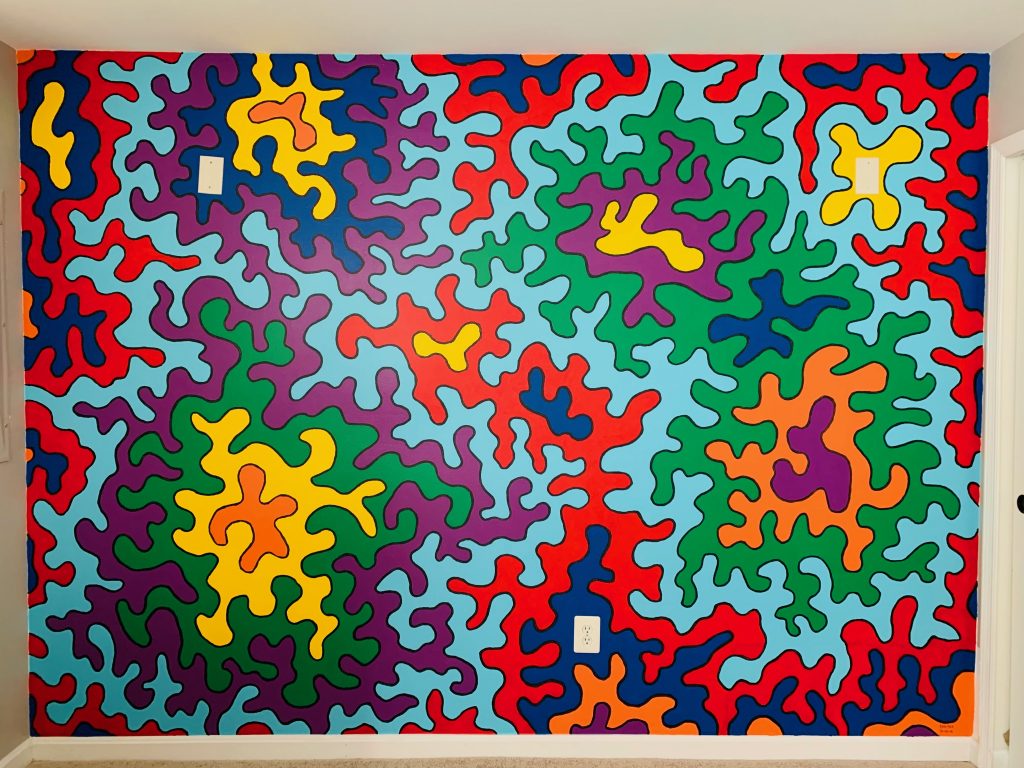


Well it’s finally done, the mural I have been painting for the past 6 months is finished!
I had decided back when I first started looking at houses last year, that if I ever bought one I had to put some artwork in it. Not just my originals, but to paint a large mural on one of the walls.
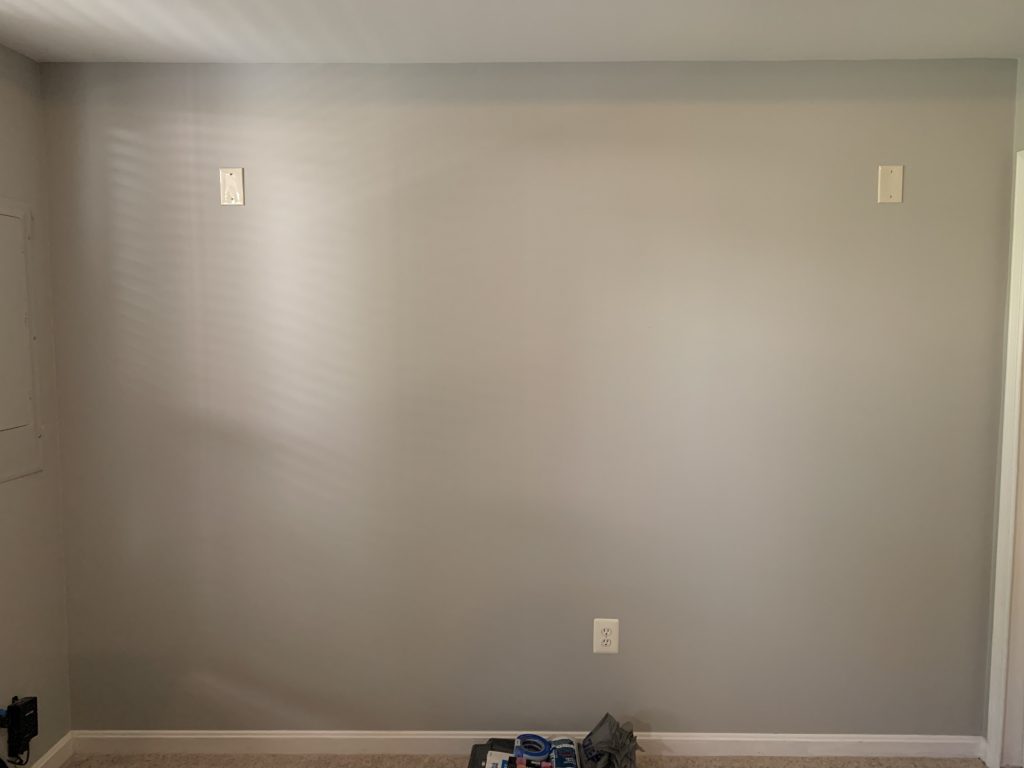
That day finally came when we settled on our first house earlier this year. I dropped my current projects and hobbies and decided to go all in on the mural. It was definitely an adventure for me, as I don’t really paint and typically only use markers or photoshop/illustrator to convey my artwork. Instead, this was going to be an 11’x8′ behemoth that I had to like well enough for it to permanently live on a wall in my basement for the rest of the time I lived there. No pressure, right?
Starting off was easy:
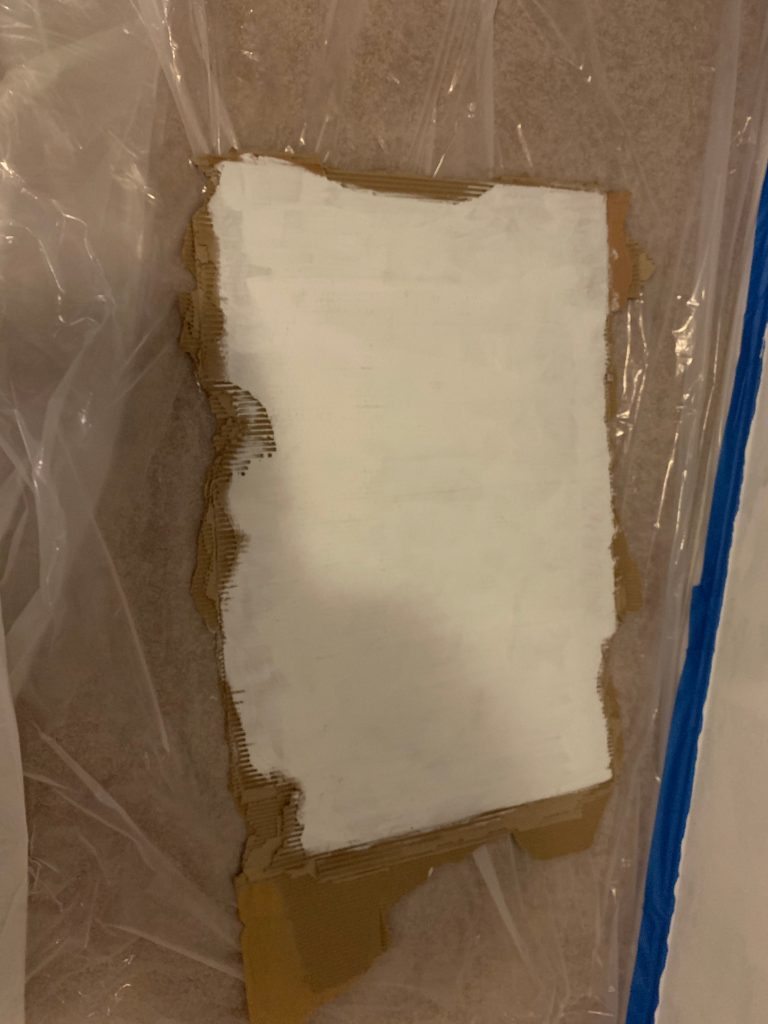
I went to home depot, picked out the best white paint primer I could find, and taped the sides up.
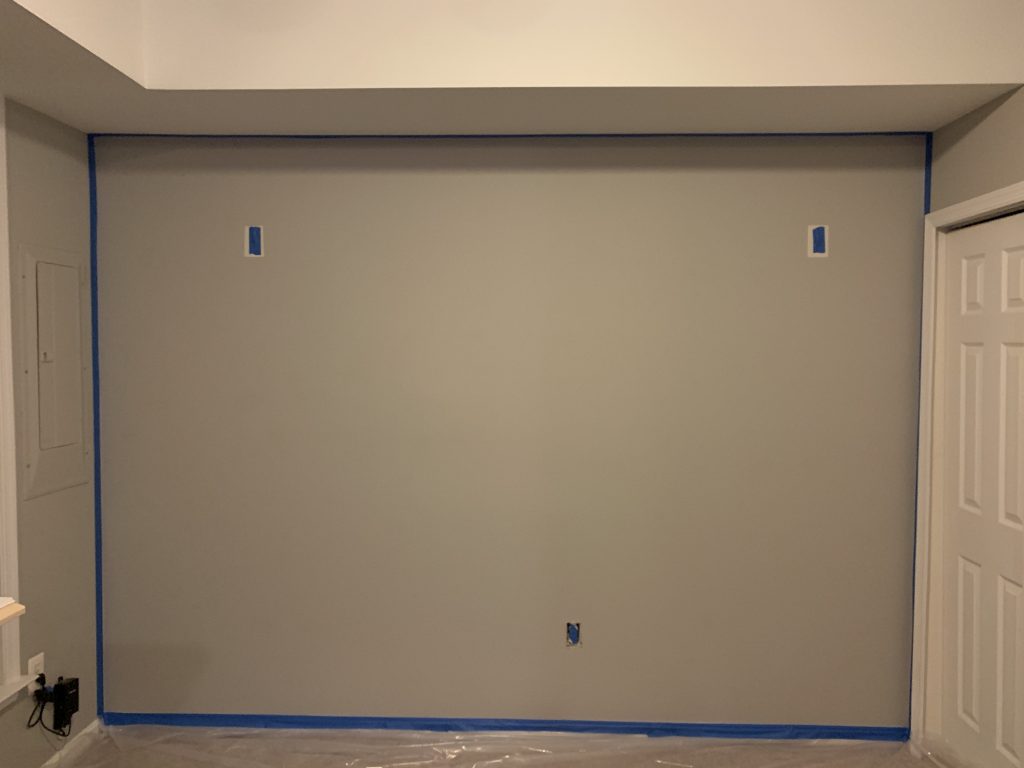
Getting the tape down and a clear plastic mat so I didn’t drip paint all over the place wasn’t too difficult. After that, I threw two coats of white on it.
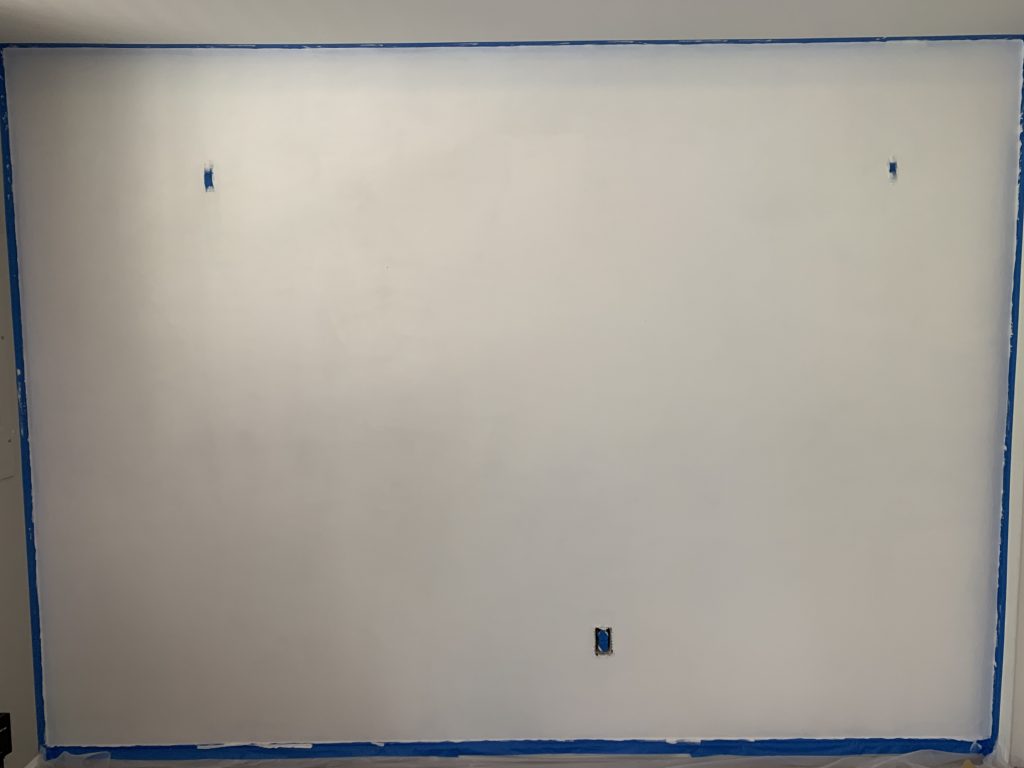
This was to get rid of the grey color behind it, and hopefully enable the colors to pop once complete.
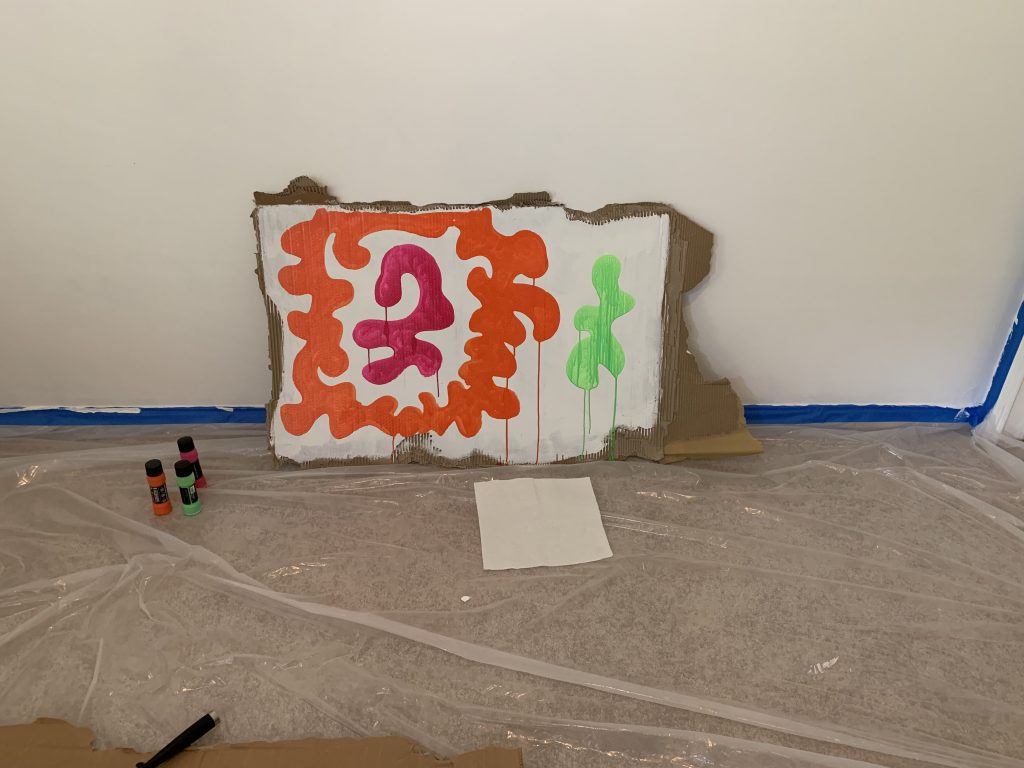
I was at a crossroads here, in that I wanted this to look nice but to also be quick. I thought it would be a good idea to use graffiti paint to throw up my design on my wall quickly, so I bought some created a test sample out of cardboard.
My goal for the wall was that I wanted to do a style I was comfortable with, but also would look good and colorful. I chose to use my DYSWIS style for this piece, as I love how the colors play together and wanted to see how it looked BIG. My first attempt with the graffiti ink markers went okay.
However I wasn’t the biggest fan of how runny the ink was. Adding the second layer of color (I couldn’t have them touch otherwise they would smear) didn’t turn out too hot.
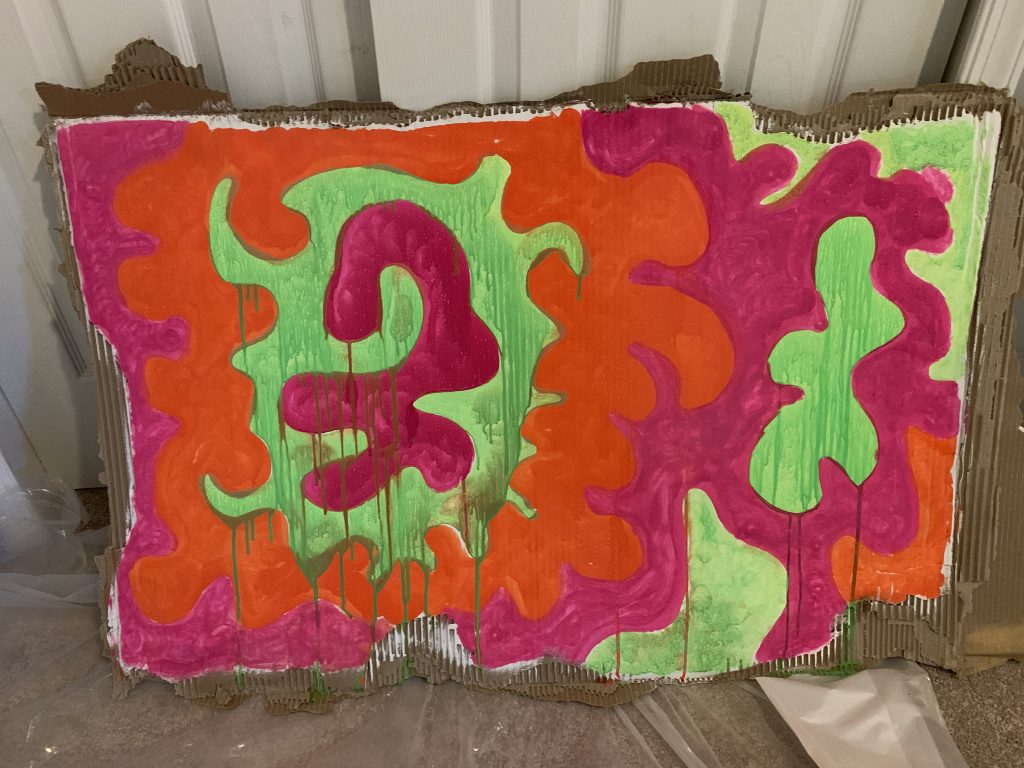
Notice how smeared and muddy the overlaps are, I still couldn’t control how much the ink ran or didn’t run, and I wasn’t super thrilled about my entire wall looking like that. Yuck.
Instead, I realized I was going to have to actually hand paint it, with little brushes and all, to get the effect I really wanted. At this point I’m about 2 weeks into the project, working on it in my spare time.
Next up was the pattern itself, which I drew freehand in pencil on the wall. My goal here was to give a good outline of the pattern I wanted, with the ability to use a small brush to paint in between the lines. Not too close, not too far away, just right. Below I have adjusted the colors on the picture so you can see the pattern a bit easier.
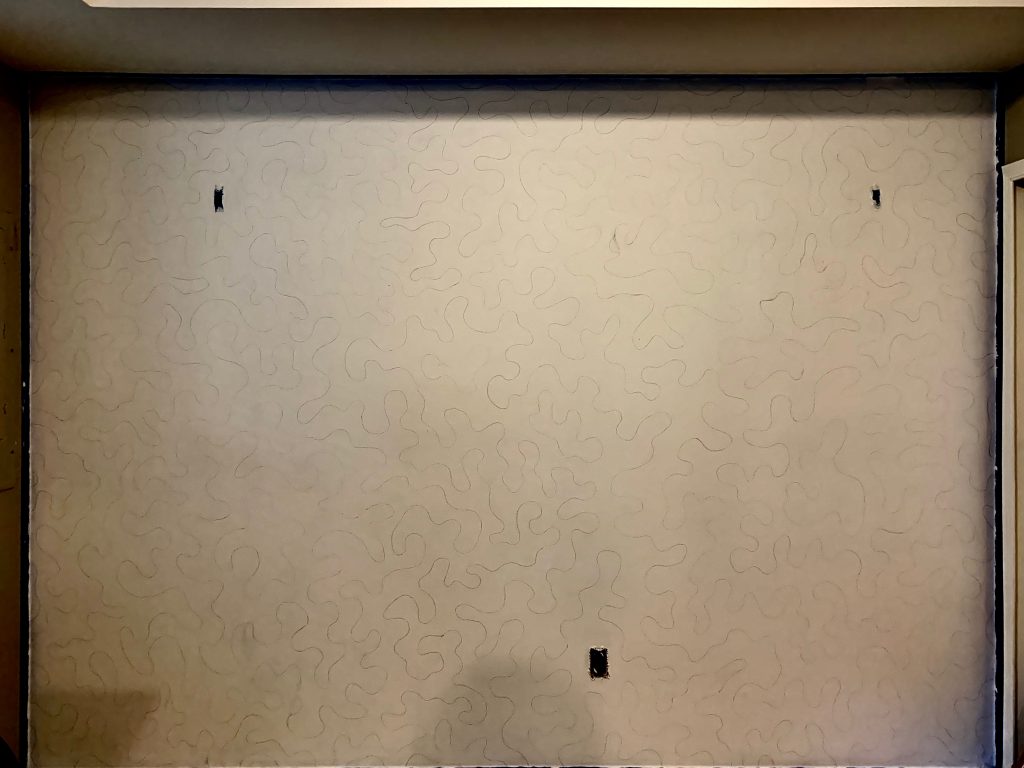
A little overwhelming, yes, but I thought it was going to turn out pretty well if I could pull it off. Next up was photoshop to toggle and play with the colors until I found something I liked.
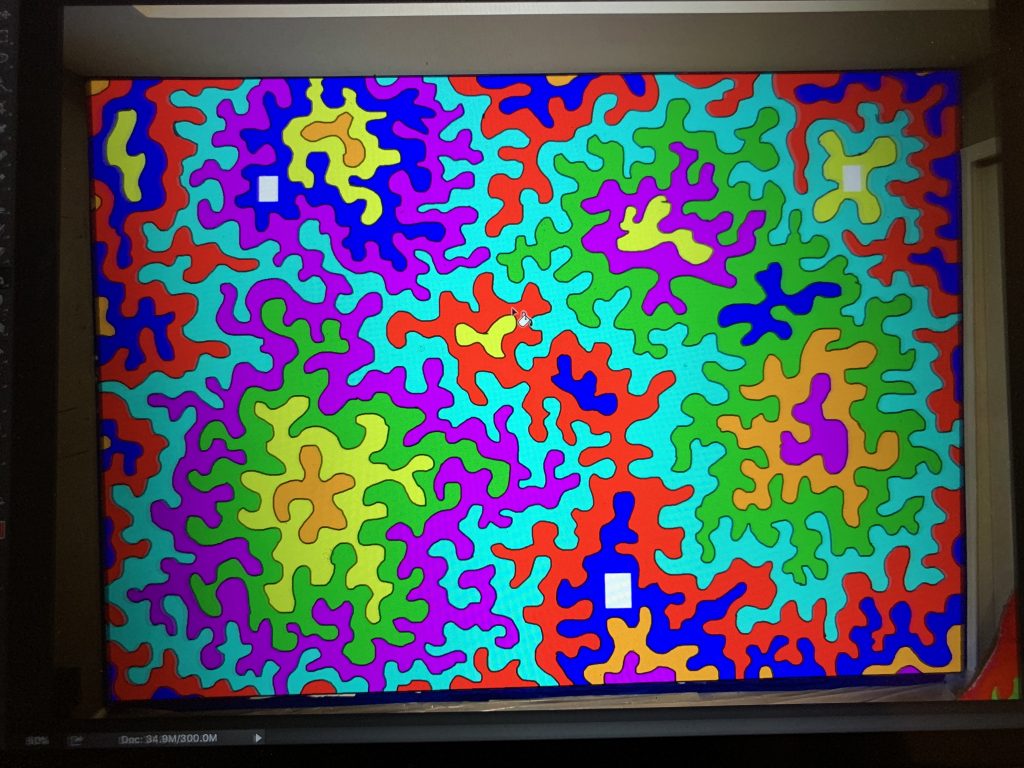
I figured the colors were going to be a little more vibrant on a computer than on the wall, but this was the color pallet I printed off and decided to go with.
At this point it’s around early May, and I’ll add some dates from this point onward to give clarity on how long each section took. I worked this piece from light colors to dark, so that the darker colors would trump any mess up on the earlier lighter colors.
Back to home depot for more paint and brushes, and we’re off to the races.
May 13th, 2019
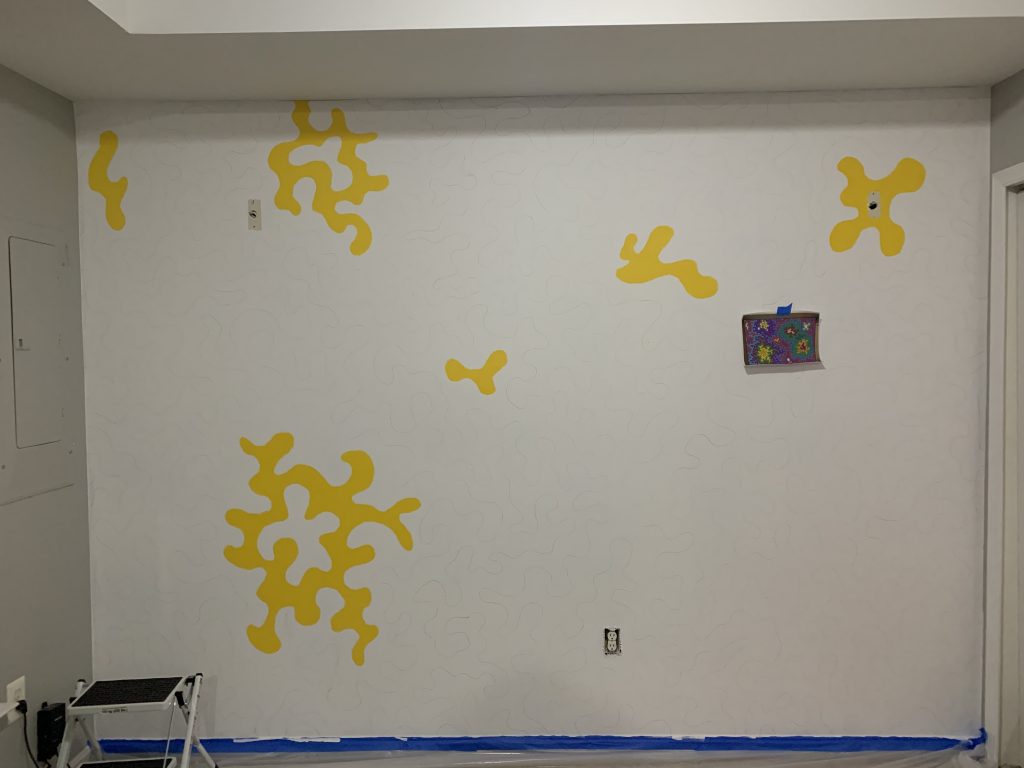
The lightest color, yellow, is complete with two coats. While this was a couple hours of work I was mostly just nervous actually painting in the lines, and trying to figure out how all of this was going to work. I used a 1 inch brush for all this work, and taped up on the wall is an 8.5″x11″ sheet of paper as my painting reference.
May 24th, 2019
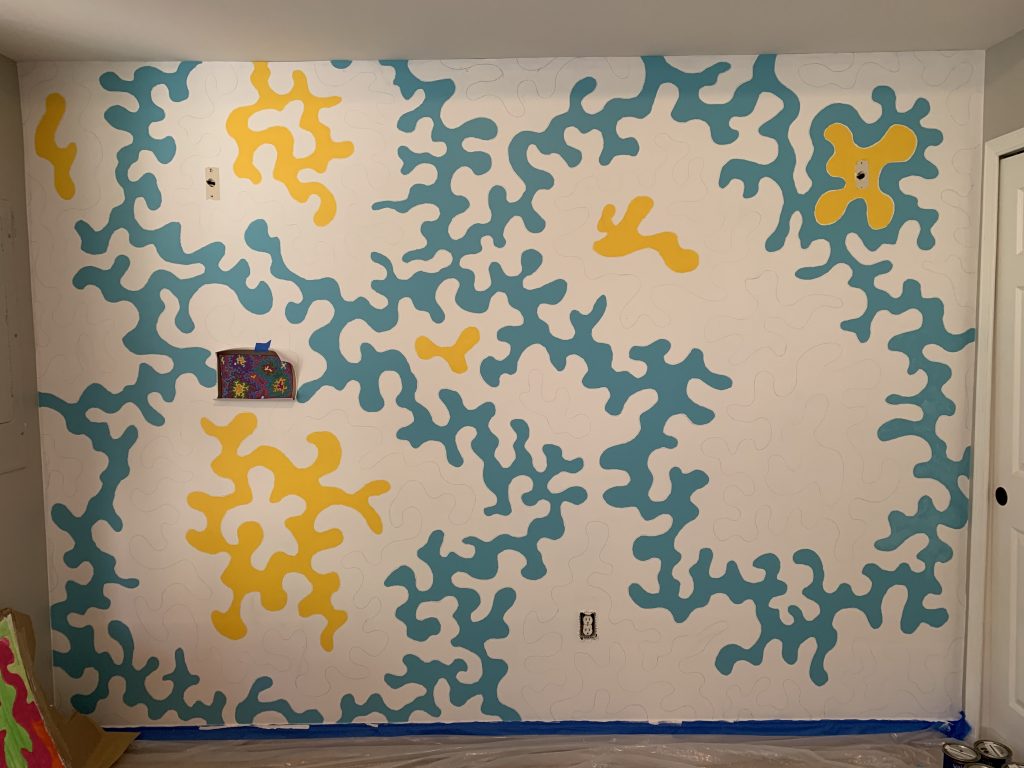
Light blue was up next. This took probably around 8 hours to do one coat, but it looked so good and had such good coverage I only needed one coat (I was very thankful for that). I bought all the same kinds of paint, yet somehow this color only needed one coat. I was never lucky enough on the coat situation for the rest of the time 🙁
May 29th, 2019
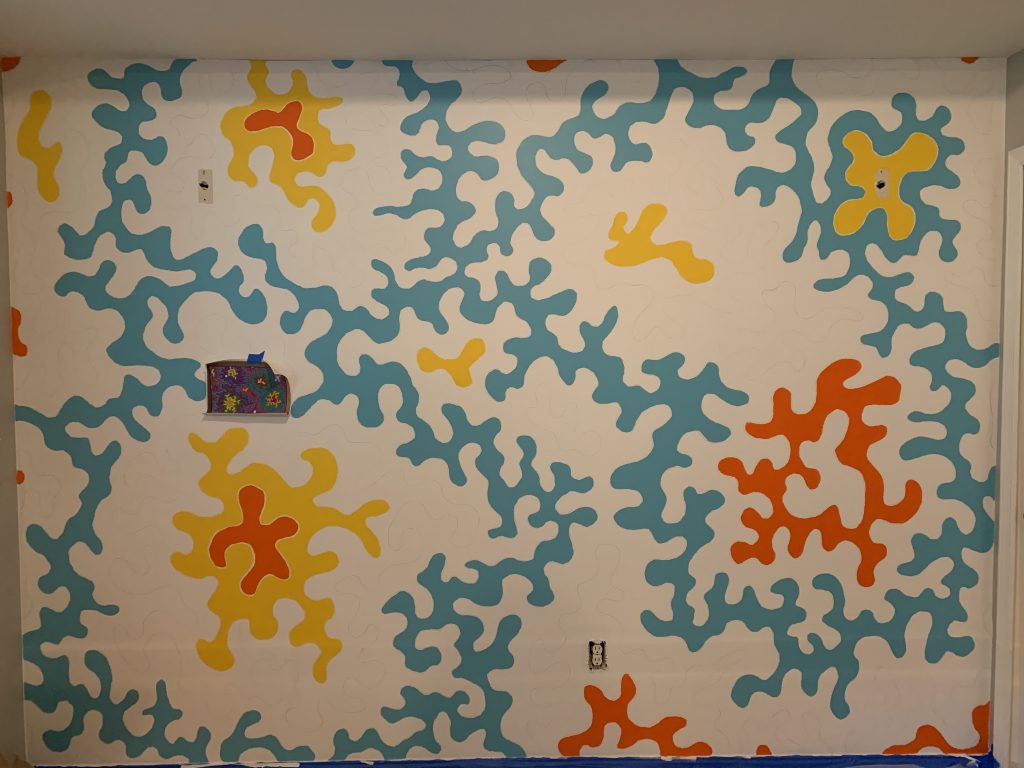
The next two coats of orange is complete! With how much I accomplished in one month I figured I was going to blaze through this project. Mind you, I hadn’t really got into the meat of some of the larger colors, but I felt confident I could get it done by the end of the summer.
June 23rd, 2019
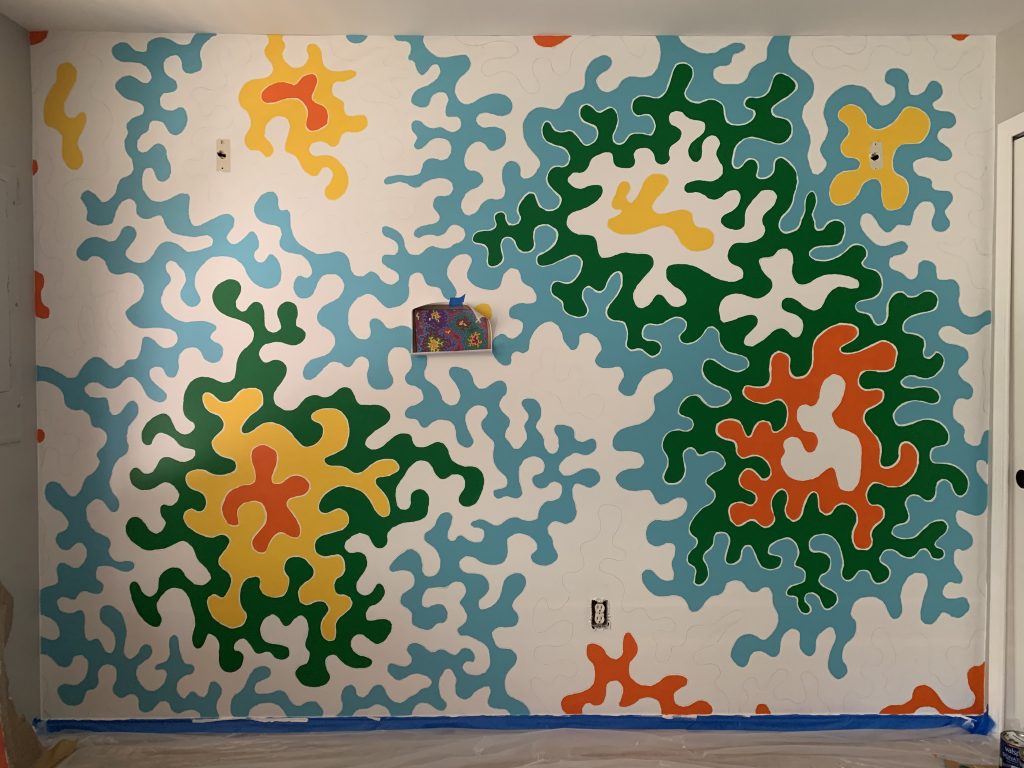
Two coats of green is complete, just in time to hurry off to Electric Forest. This was the first time I really had to do a lot of painting in between two colors, which was a bit nerve wracking in it’s own right. Worrying about not screwing up on one side, with no break then going right back over to the other line to paint. Lot’s of concentration to paint close enough to the other color that I could use a small brush to paint black in between, not too close, not too far.
July 25th, 2019
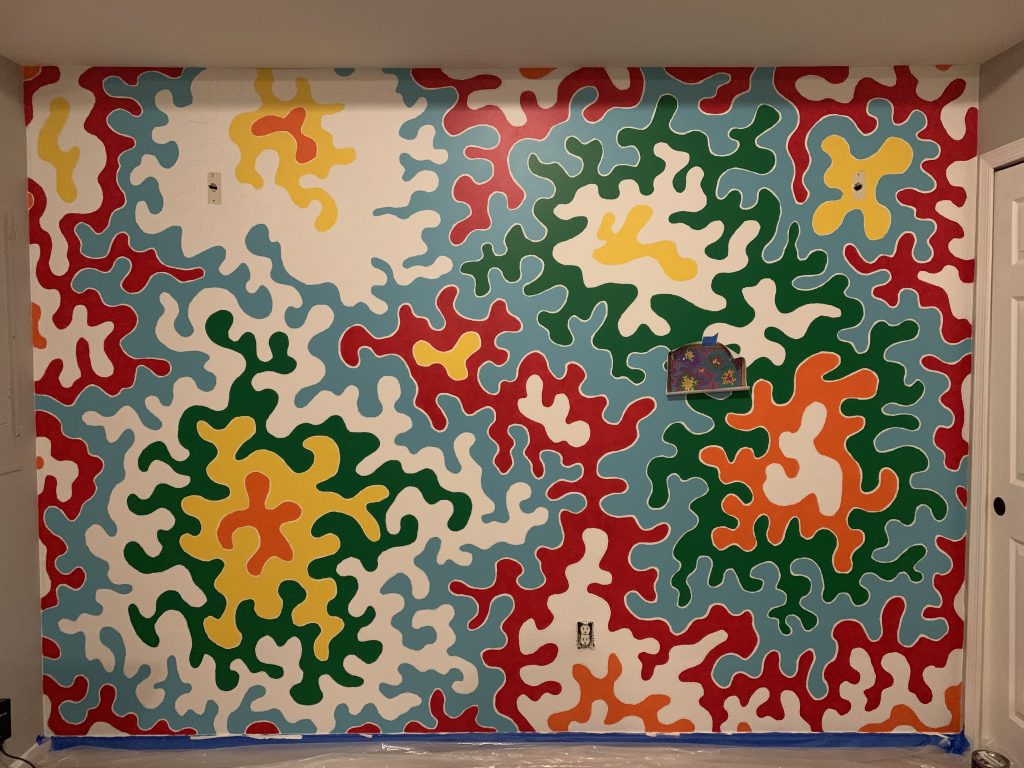
These two coats of red took a toll and a pretty significant amount of time, there was a lot more red than I expected! The colors are really coming together at this point and I really felt like I was over the halfway point in this piece. From this point onward, I was painting less colors and less amounts so I still felt pretty good.
August 4th, 2019
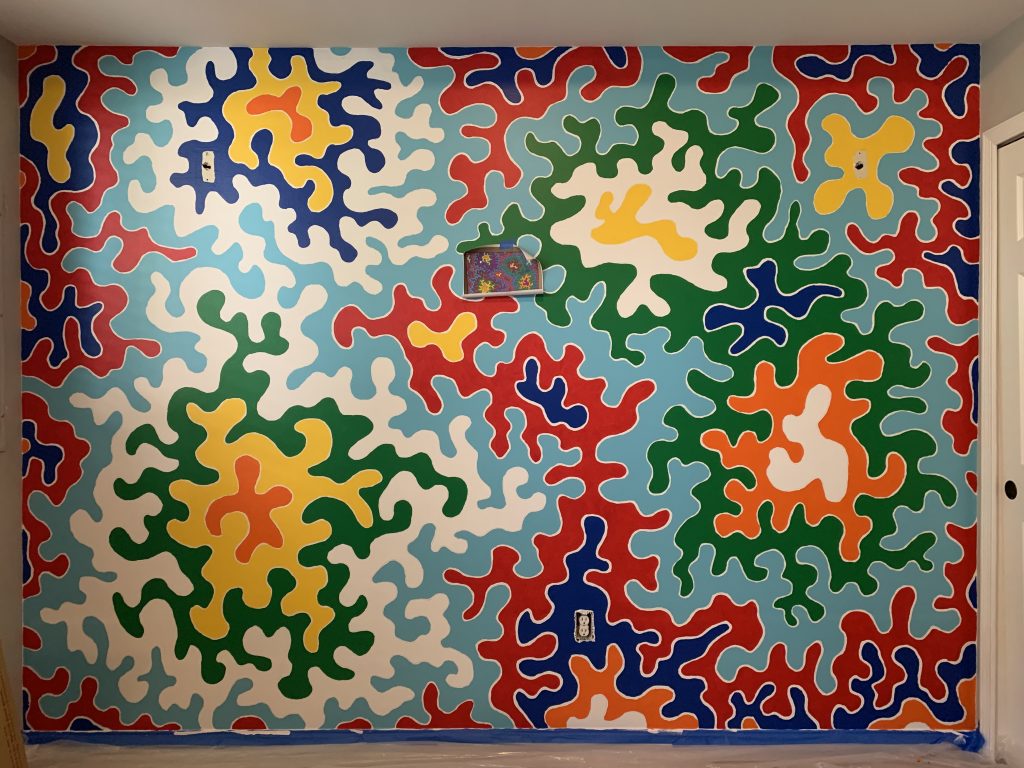
These two coats of dark blue were much easier than the red, only one more color to go before the main colors were complete!
August 9th, 2019
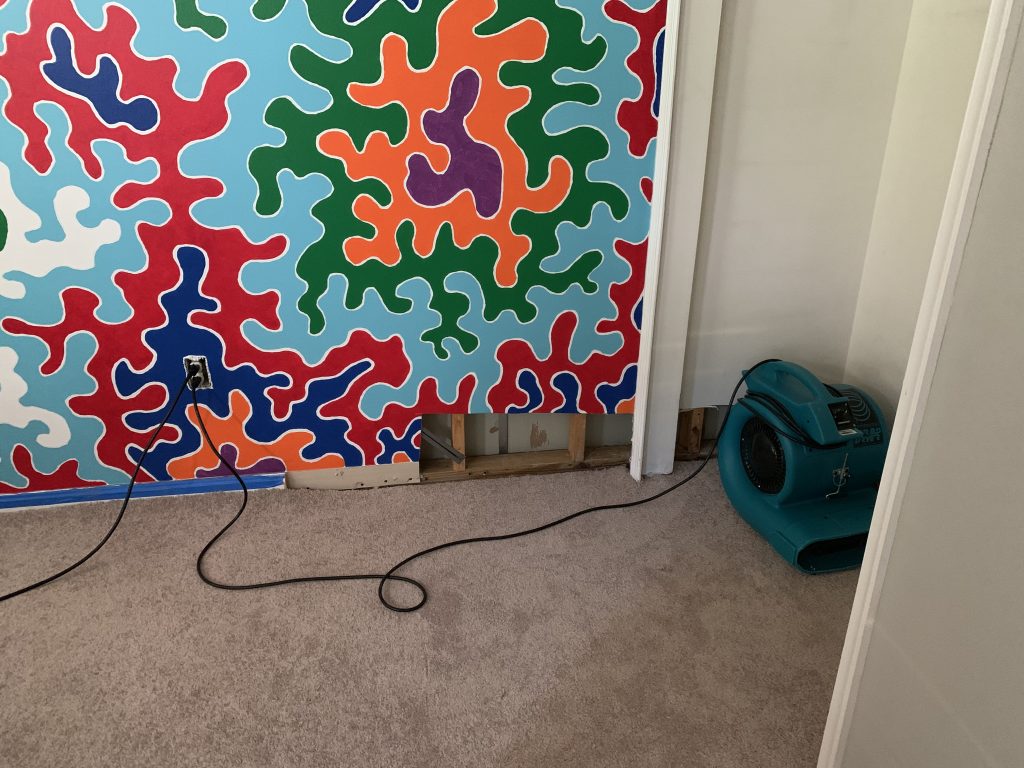
Disaster strikes. While midway through the last purple color, the main sewer line coming out from underneath my house breaks and my basement floods. The workers are forced to cut the wet drywall out from around the flooded area/carpet and I lose part of my precious artwork 🙁
This is a pretty big setback as we were unable to live in our house for a week while all the repairs were made, plus on each side of the repairs is moving everything in and out of the basement, tearing up my concrete garage floor, and just a general mess.
August 21st, 2019
While the workers are out of my house, insurance wouldn’t hire anyone to repair my drywall. I ended up repairing it on my own – shout out to my Pops who taught me how! Through this process I was able to finish the two coats of purple, and all that was left was to fix the drywall, easy right?
- Fix the drywall, with 3 different applications of drywall mud that take 24-48 hours each to dry
- Redo the baseboards on the bottom and caulk the seams
- Pull and tuck the carpet underneath again (with new padding)
- Repaint the bare drywall with 2 coats of white
- Re-pencil in my design, trying to make it look as similar as possible
- Repaint 2 coats each of Orange, Purple, Red, Dark Blue
I’m just happy it’s over.
September 28th, 2019
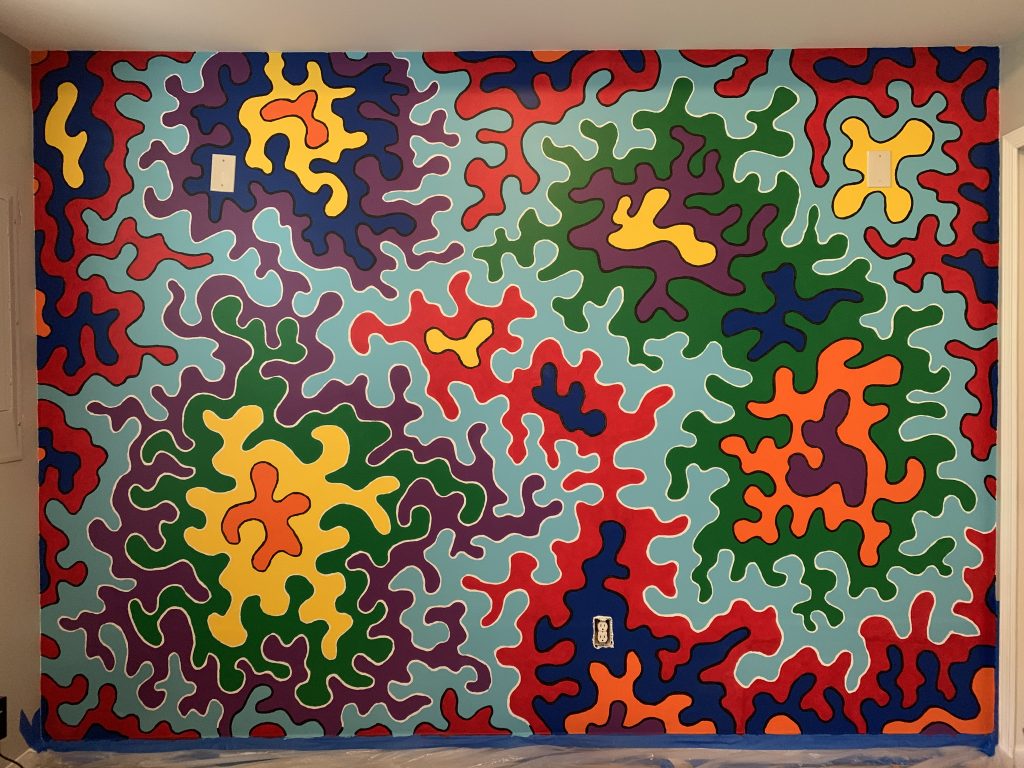
While doing all of the drywall and artwork repair, I also started doing the black outlines between all the colors. I could do some repairs and do some black outlines at the same time, so both of them kind of came together around this time.
What do you think of the repair job in the bottom corner? Not bad, right? I love the black outlines as it really makes the colors bolder and pop out more.
October 10th, 2019
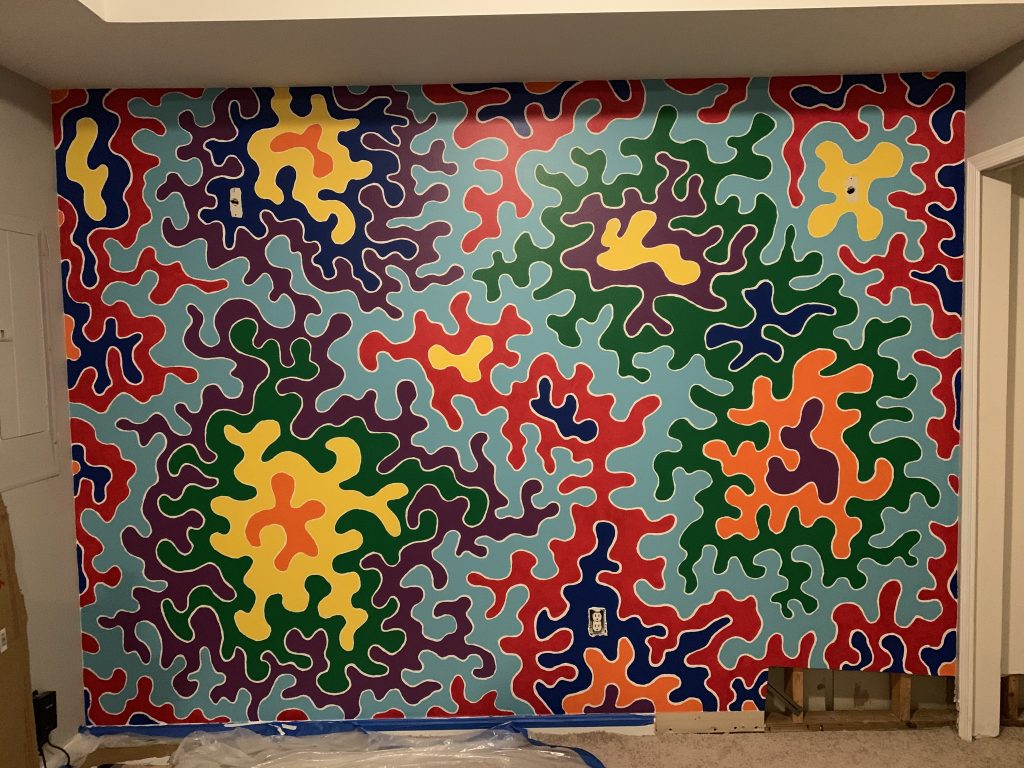
The wall is officially done! I only ended up doing one coat of black lines, as it took me around 20 hours to do with one of those fine tipped brushes… not trying to do that again. I was pretty damn nervous for the last hour… “don’t screw up don’t screw up don’t screw up.” My hand was shaking more than it had the entire 6 months I had been painting right at those final moments.
I signed the bottom right corner and it was complete!