I have been wanting to type this up for a while now, and with the festival over now I can finally share!
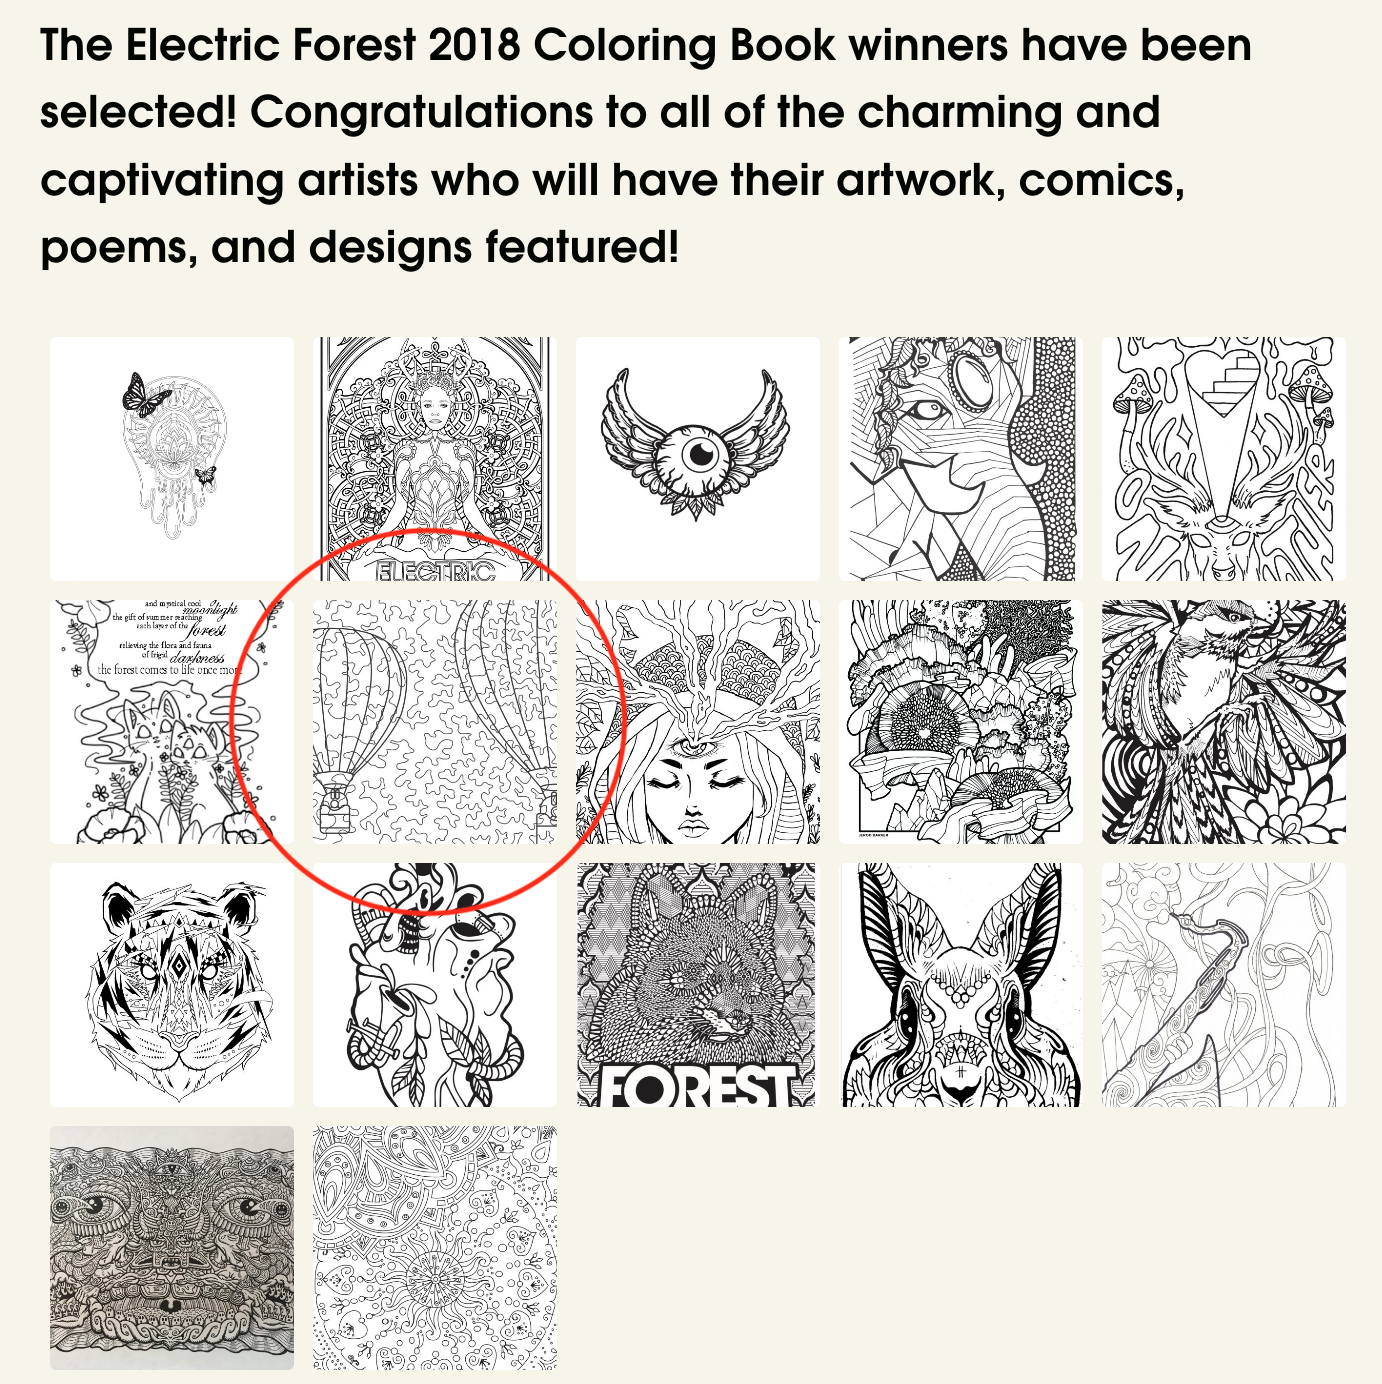
In this post I want to detail how I created my Electric Forest 2018 Coloring Book submission. You can see my design on the winner announcement page linked prior, or in the screenshot below.
I think the hardest part for this year’s contest was figuring out what I actually wanted to create. I was traveling abroad when I heard about the contest, and was not going to be home in time to draw something up by hand, so I had to figure out what I could use that already existed on my laptop.
One of the rules of the contest was that the piece of art had to be original, and designed specifically for Electric Forest. I sat there and thought about
- What would I like to color in while at Forest?
- What kinds of images remind me of Forest?
- What conveys the atmosphere of the event?
With only my laptop in hand, I felt like I could figure something out, but what? In pondering this more, the home page of this very website came into mind. The flying pig is actually a hot air balloon that was flying around a couple years ago at the exact same event. If you look at the event photos, you can see lots of hot air balloons floating around, giving rides to folks and just generally creating a fun event.
The idea hit me that I could use Adobe Illustrator to craft some hot air balloons, and then overly them on top of a select/small portion of on of my favorite drawings, DYSWIS, to create something new that had never been seen before.
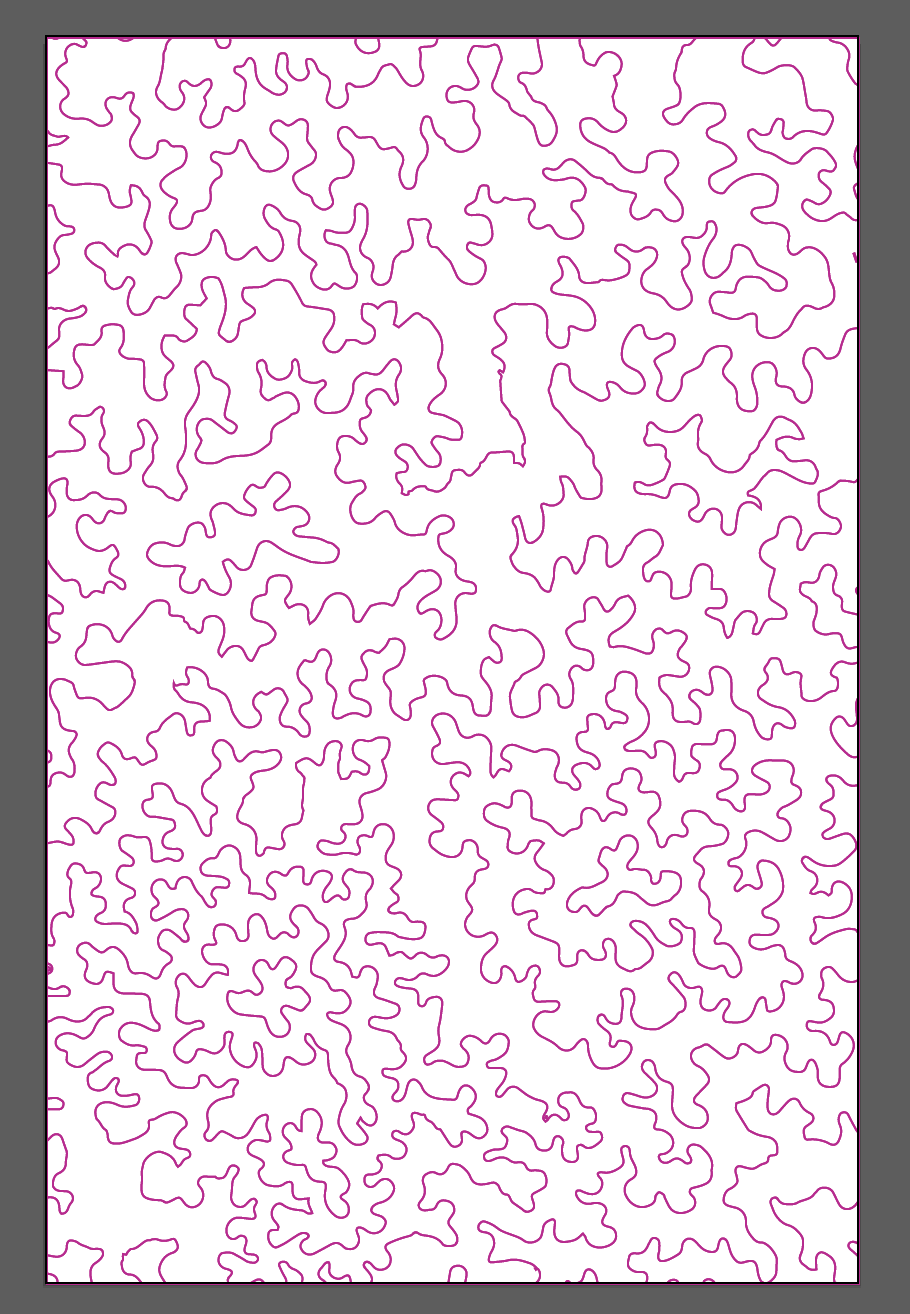
I started off with a cropped section of the drawing that was the required contest size (roughly 8 1/2″ x 5.5″).
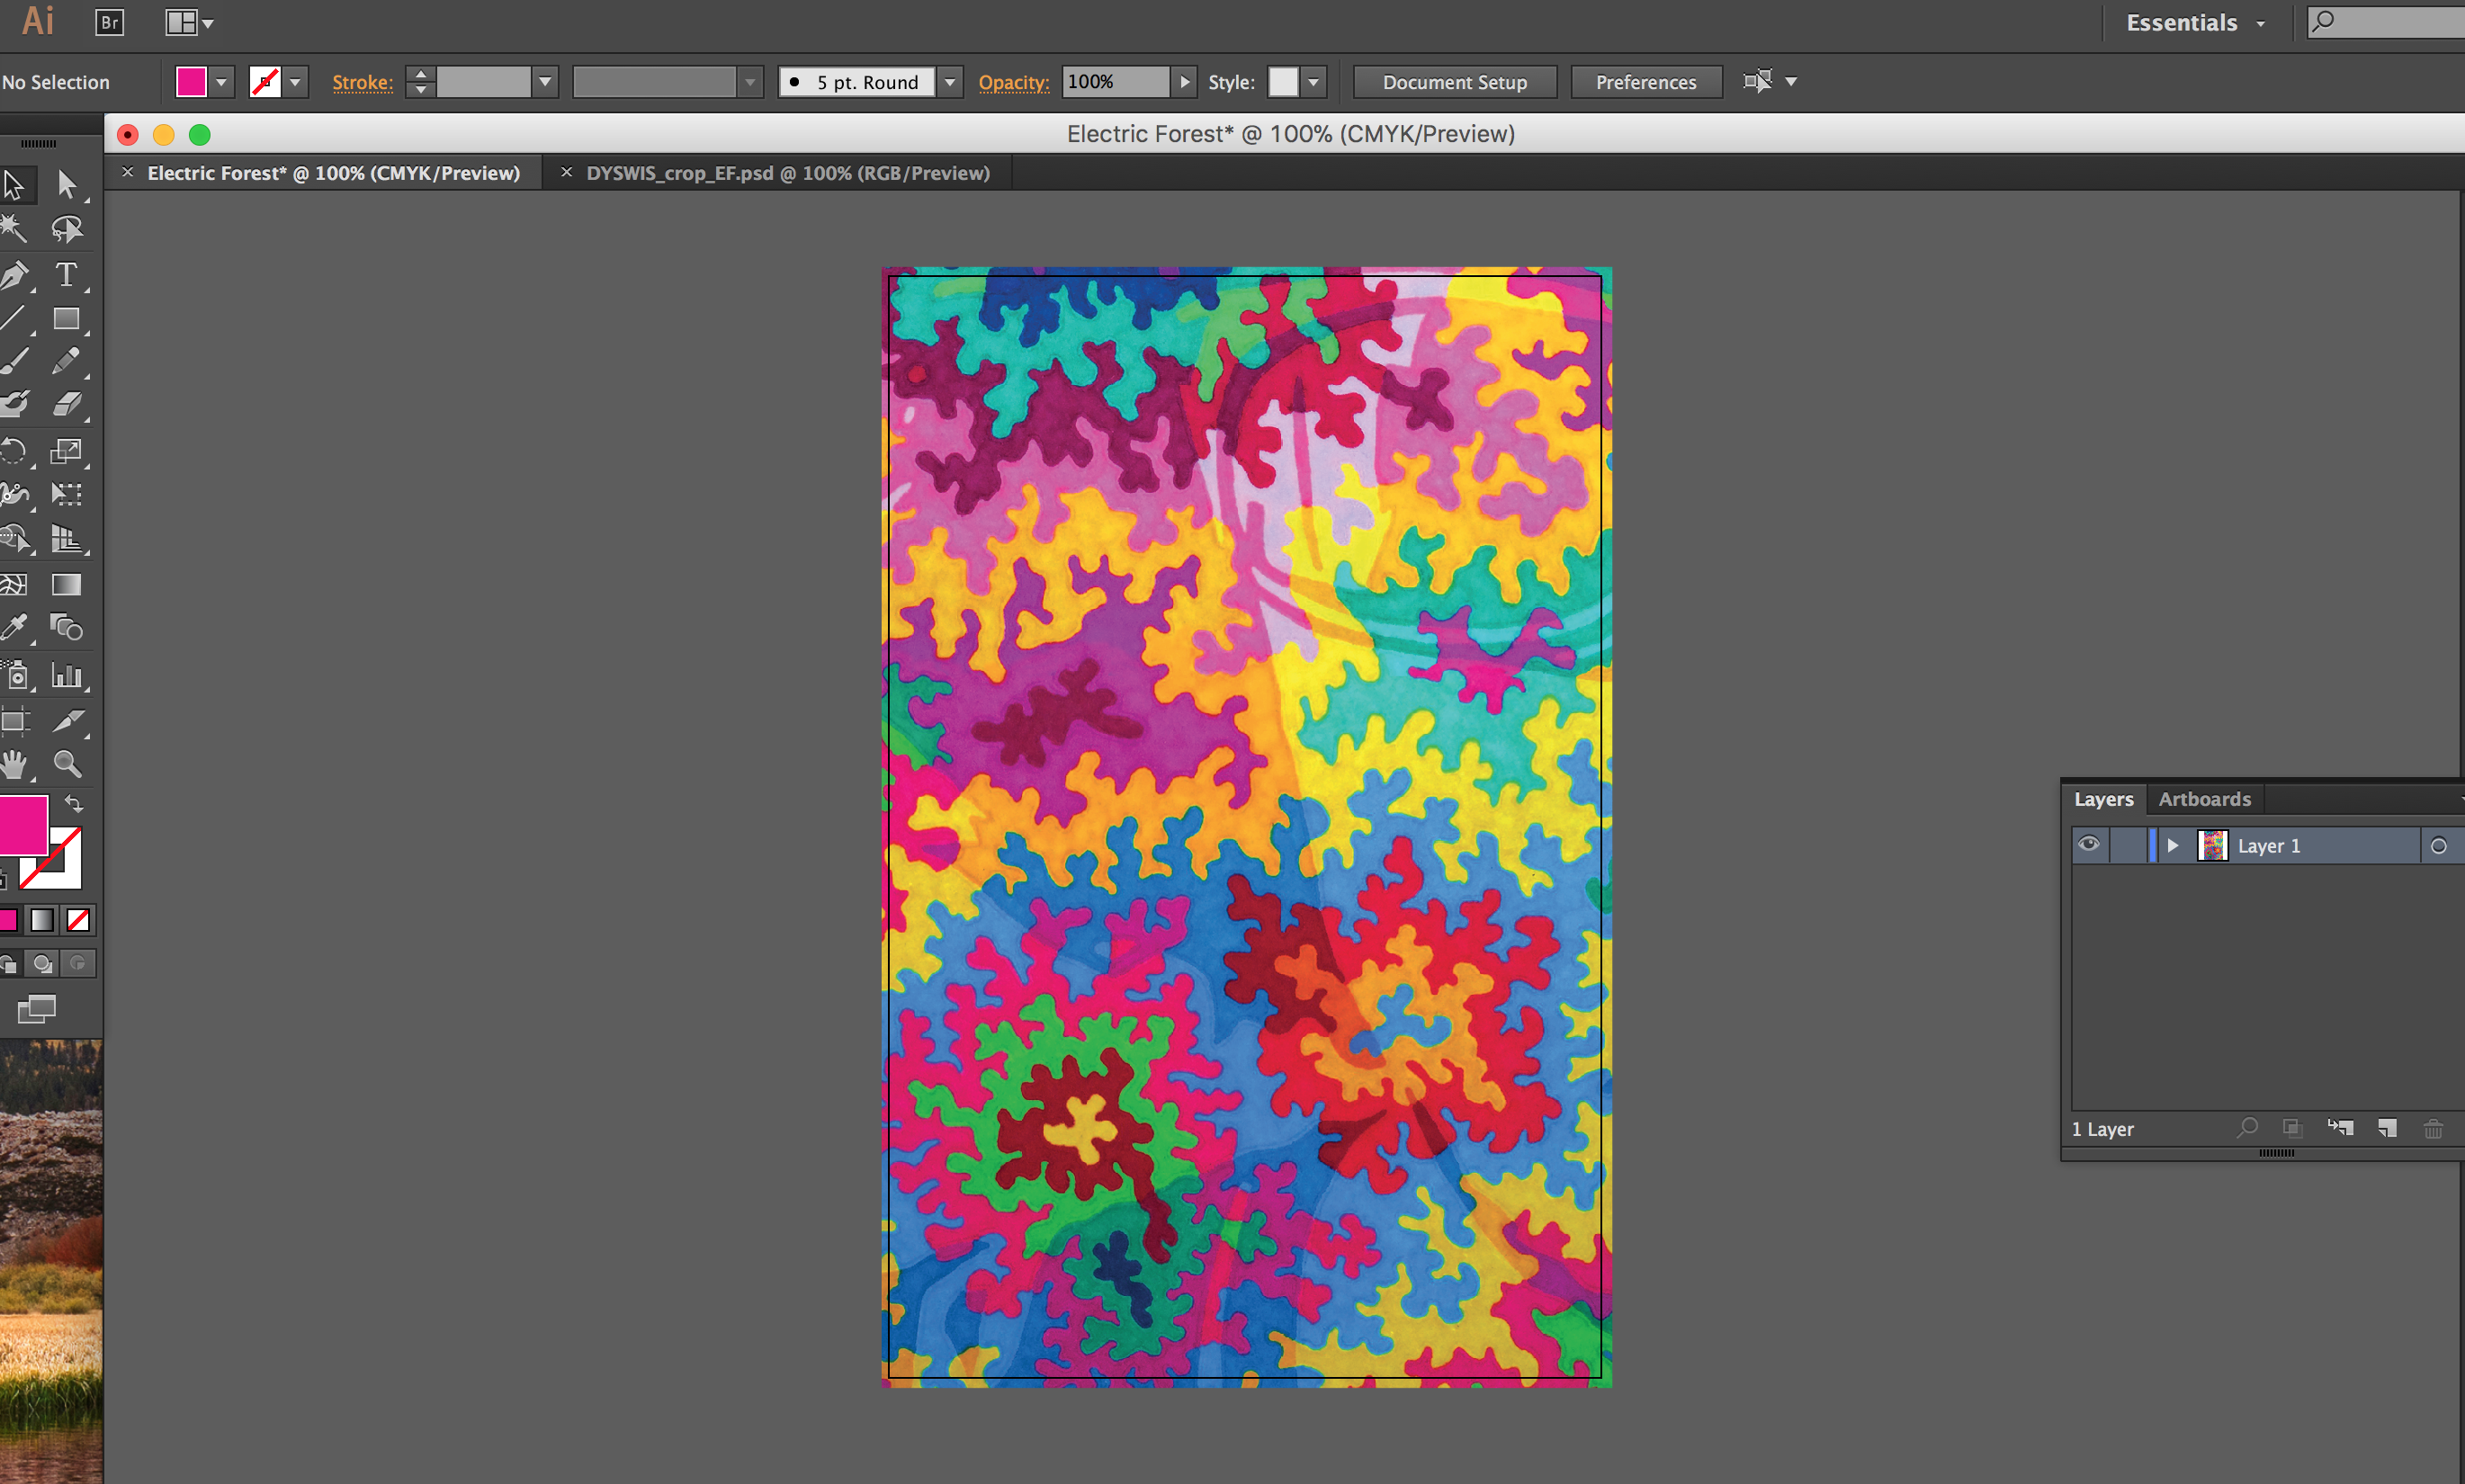
My goal here was to take all of the squiggly lines and turn them into bold black lines in order for folks to color. In order to do that, I needed to convert the image to black and white.
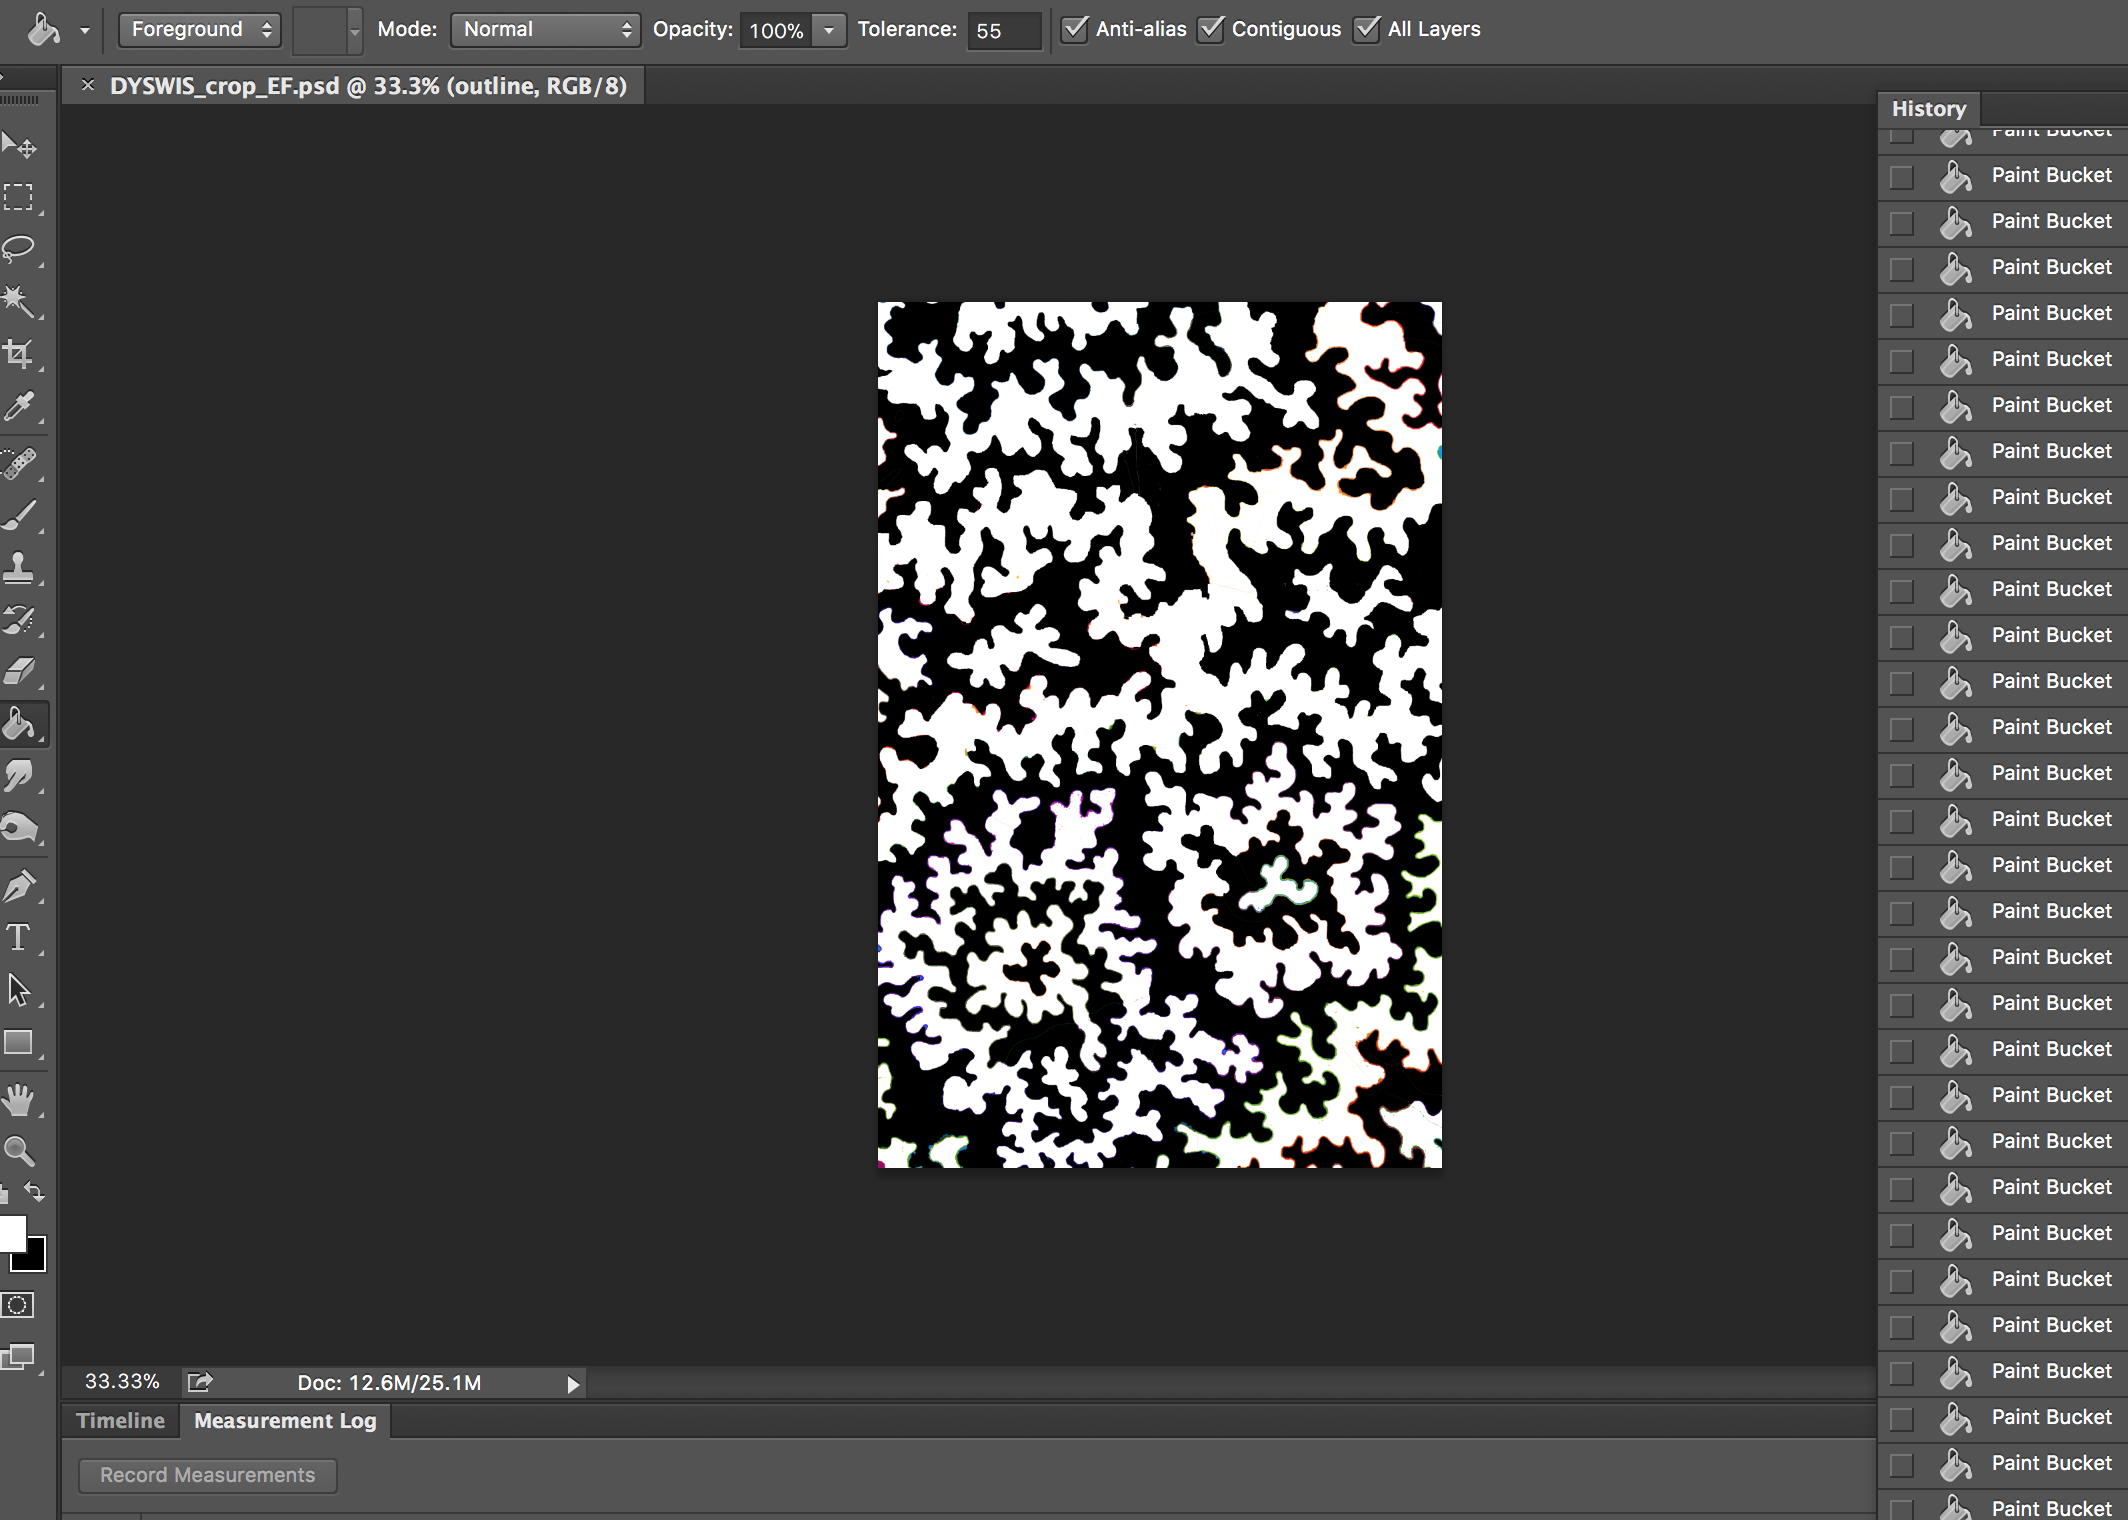
I initially could not figure out how to grab the squiggly lines out via photoshop, and sat there for longer than I would like to admit tracing them by hand. After I did a couple and still had way more to go, I realized that I could probably use Illustrator features to vectorize the lines and give a nice crisp trace.
After I had that, I needed to find my hot air balloon subject. After a quick google search I was able to find a nice, somewhat boring hot air balloon that would serve as my subject.
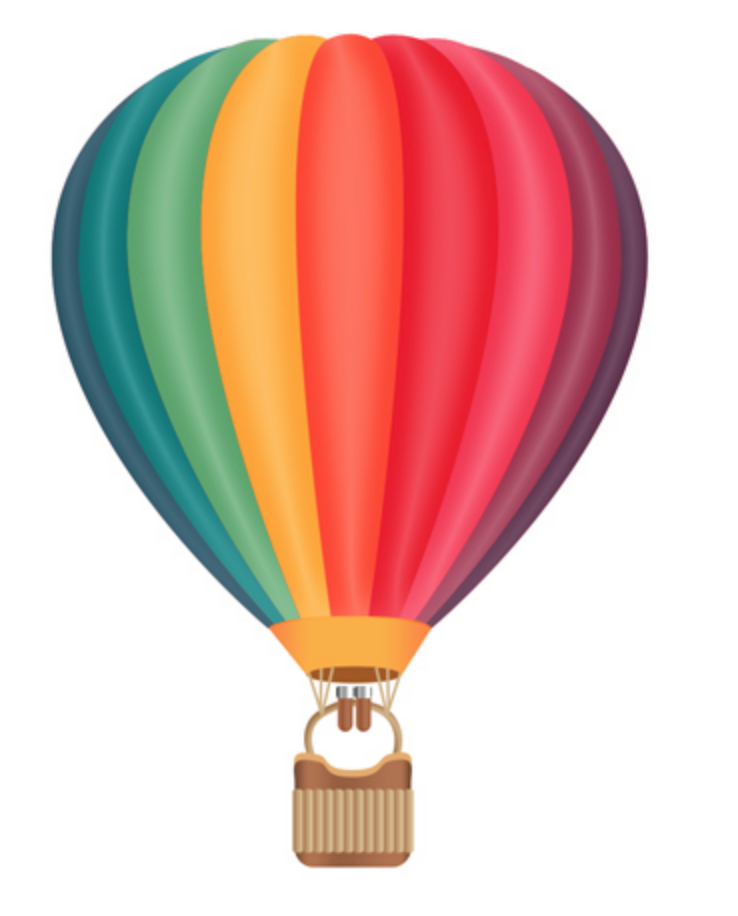
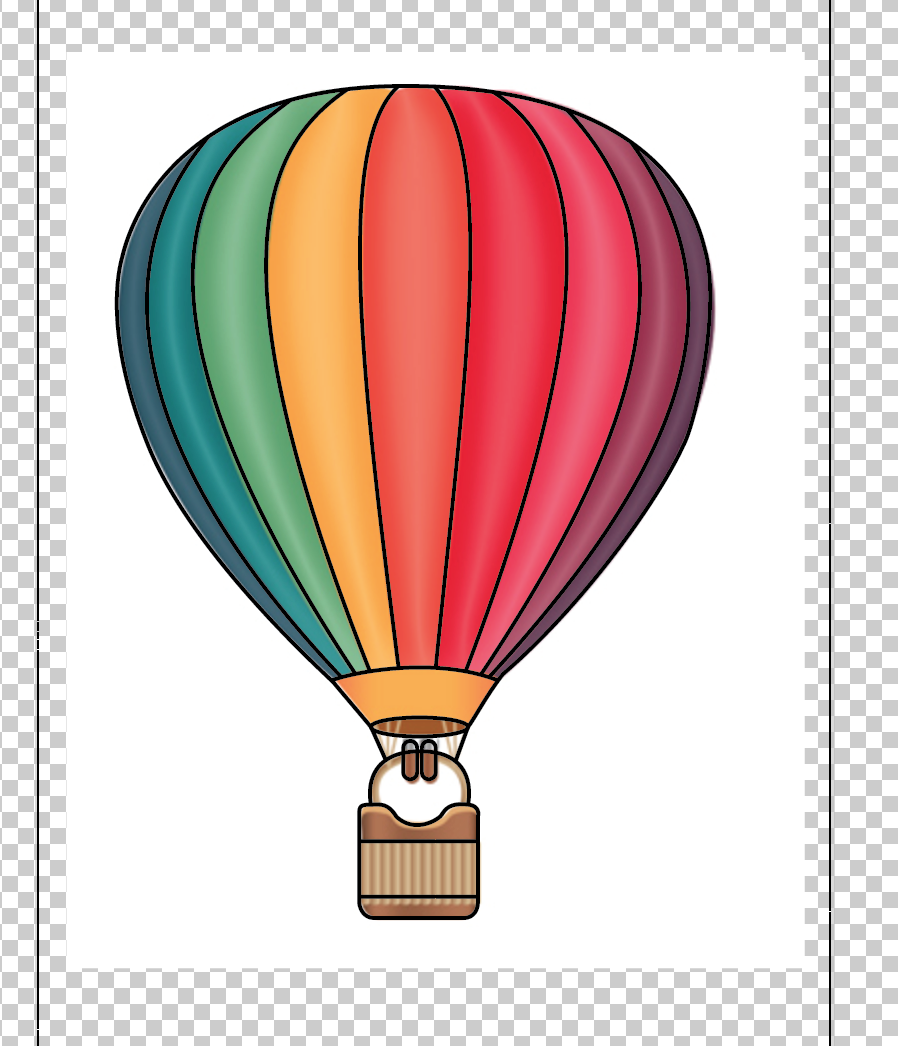
Using Illustrator’s pen tool, I was able to create a neat black border around everything that I wanted to include in the final design. Note that I purposefully chose a balloon that did not have any kind of bright pattern to it, as I felt like it would conflict with the squiggly line pattern from the other design.
After that, it was all about merging the two pieces together in order to product the final product. Below, I have rotated the DYSWIS outline by 90 degrees, and added the hot air balloons at different sizes in order to give a little bit of depth to the image.
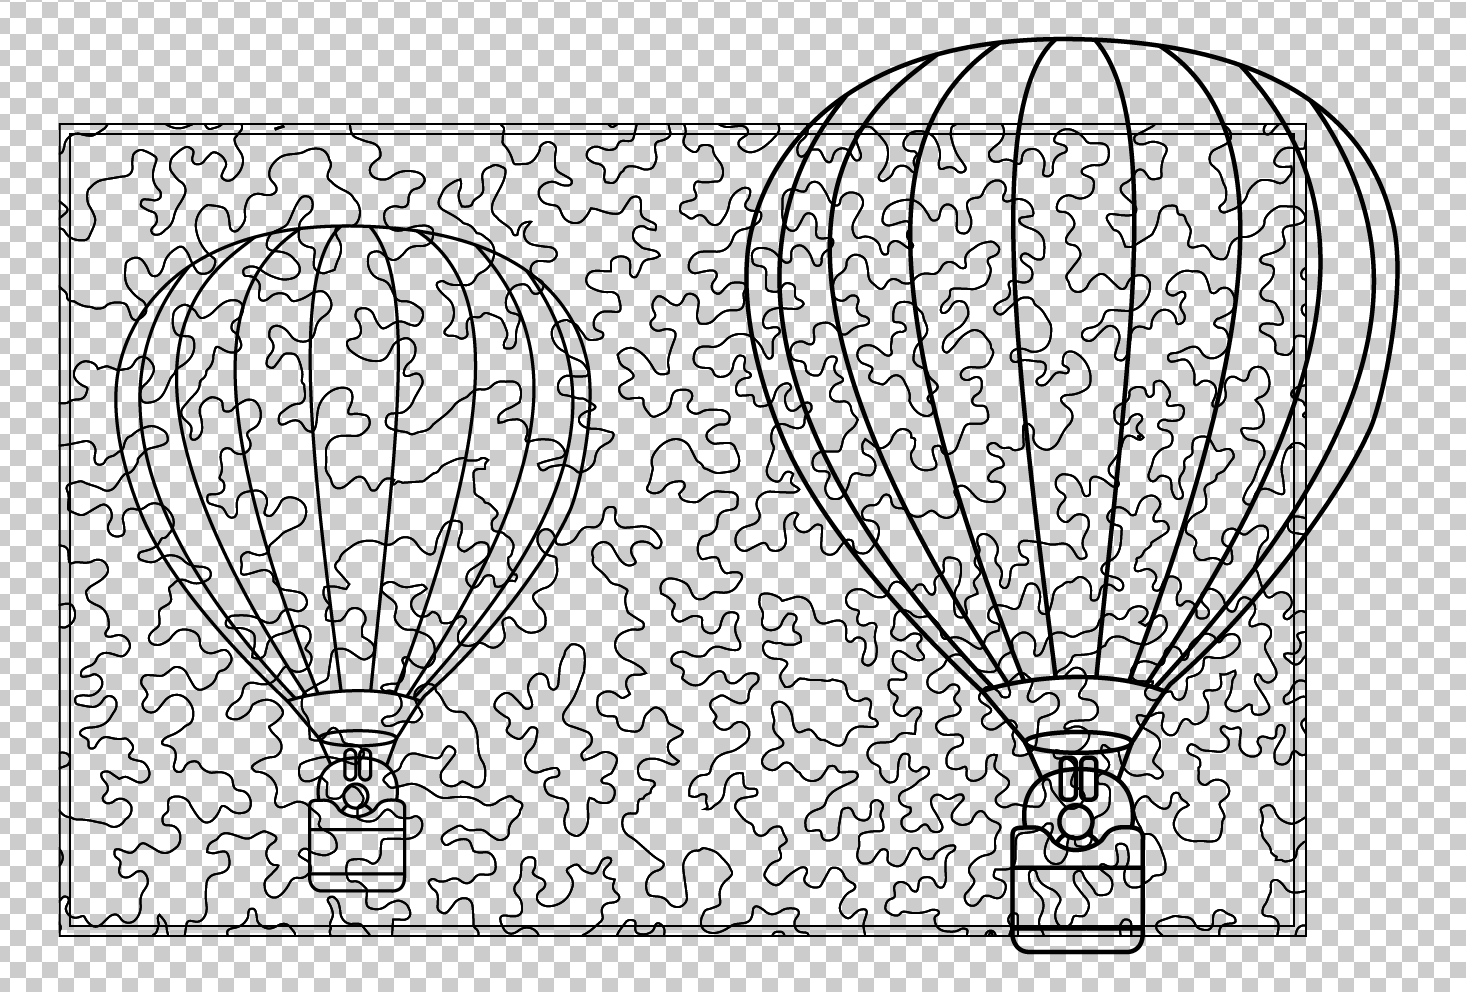
The original intention of the design was to have the nice black border be the final crop area, so that the balloon on the right would be cropped. A could things I ended up adding to the design include
1. Bolding the hot air balloon so it stood out from the squiggly lines. I wanted the balloons to pop out while still allowing you to see the pattern behind the scenes
2. I also added a little person poking out of the top of the balloon basket. They felt a bit empty and I wanted to create a simple yet recognizable figure in there. If I had added hair/eyes/mouth/etc I felt that it would have been too complex to color in.
The final outcome looked like:
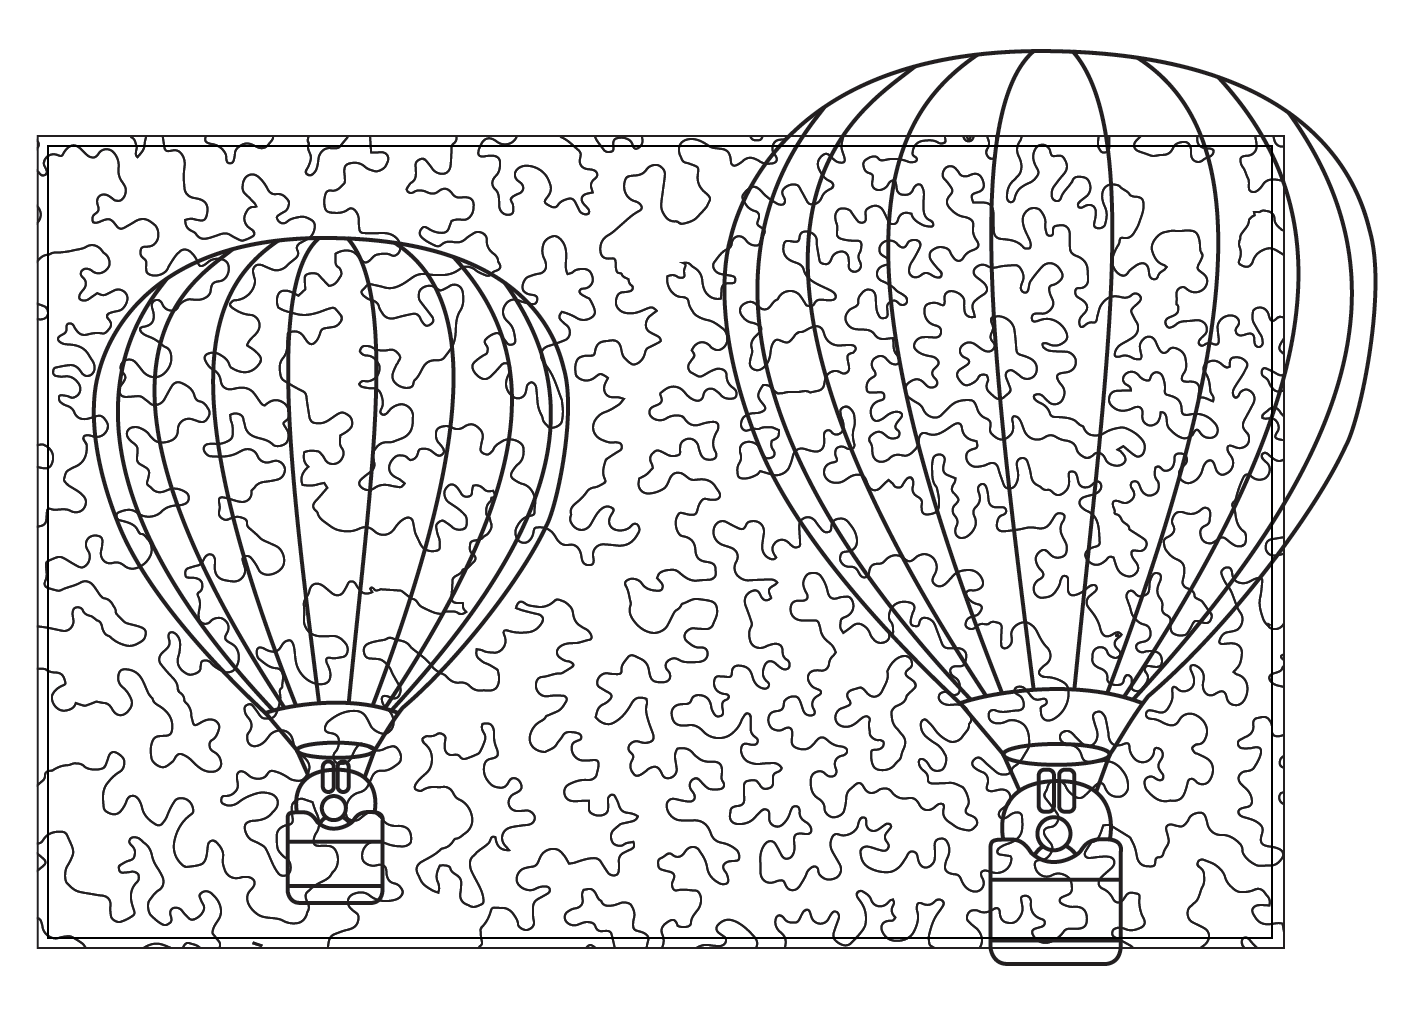
My goal here was to give everyone an easily recognizable drawing, with a lot of room to color it in your own way. You can make rainbows, you can make it crazy, you can make it simple, so, hopefully everyone who ended up picking up a book enjoyed it and made it their own.
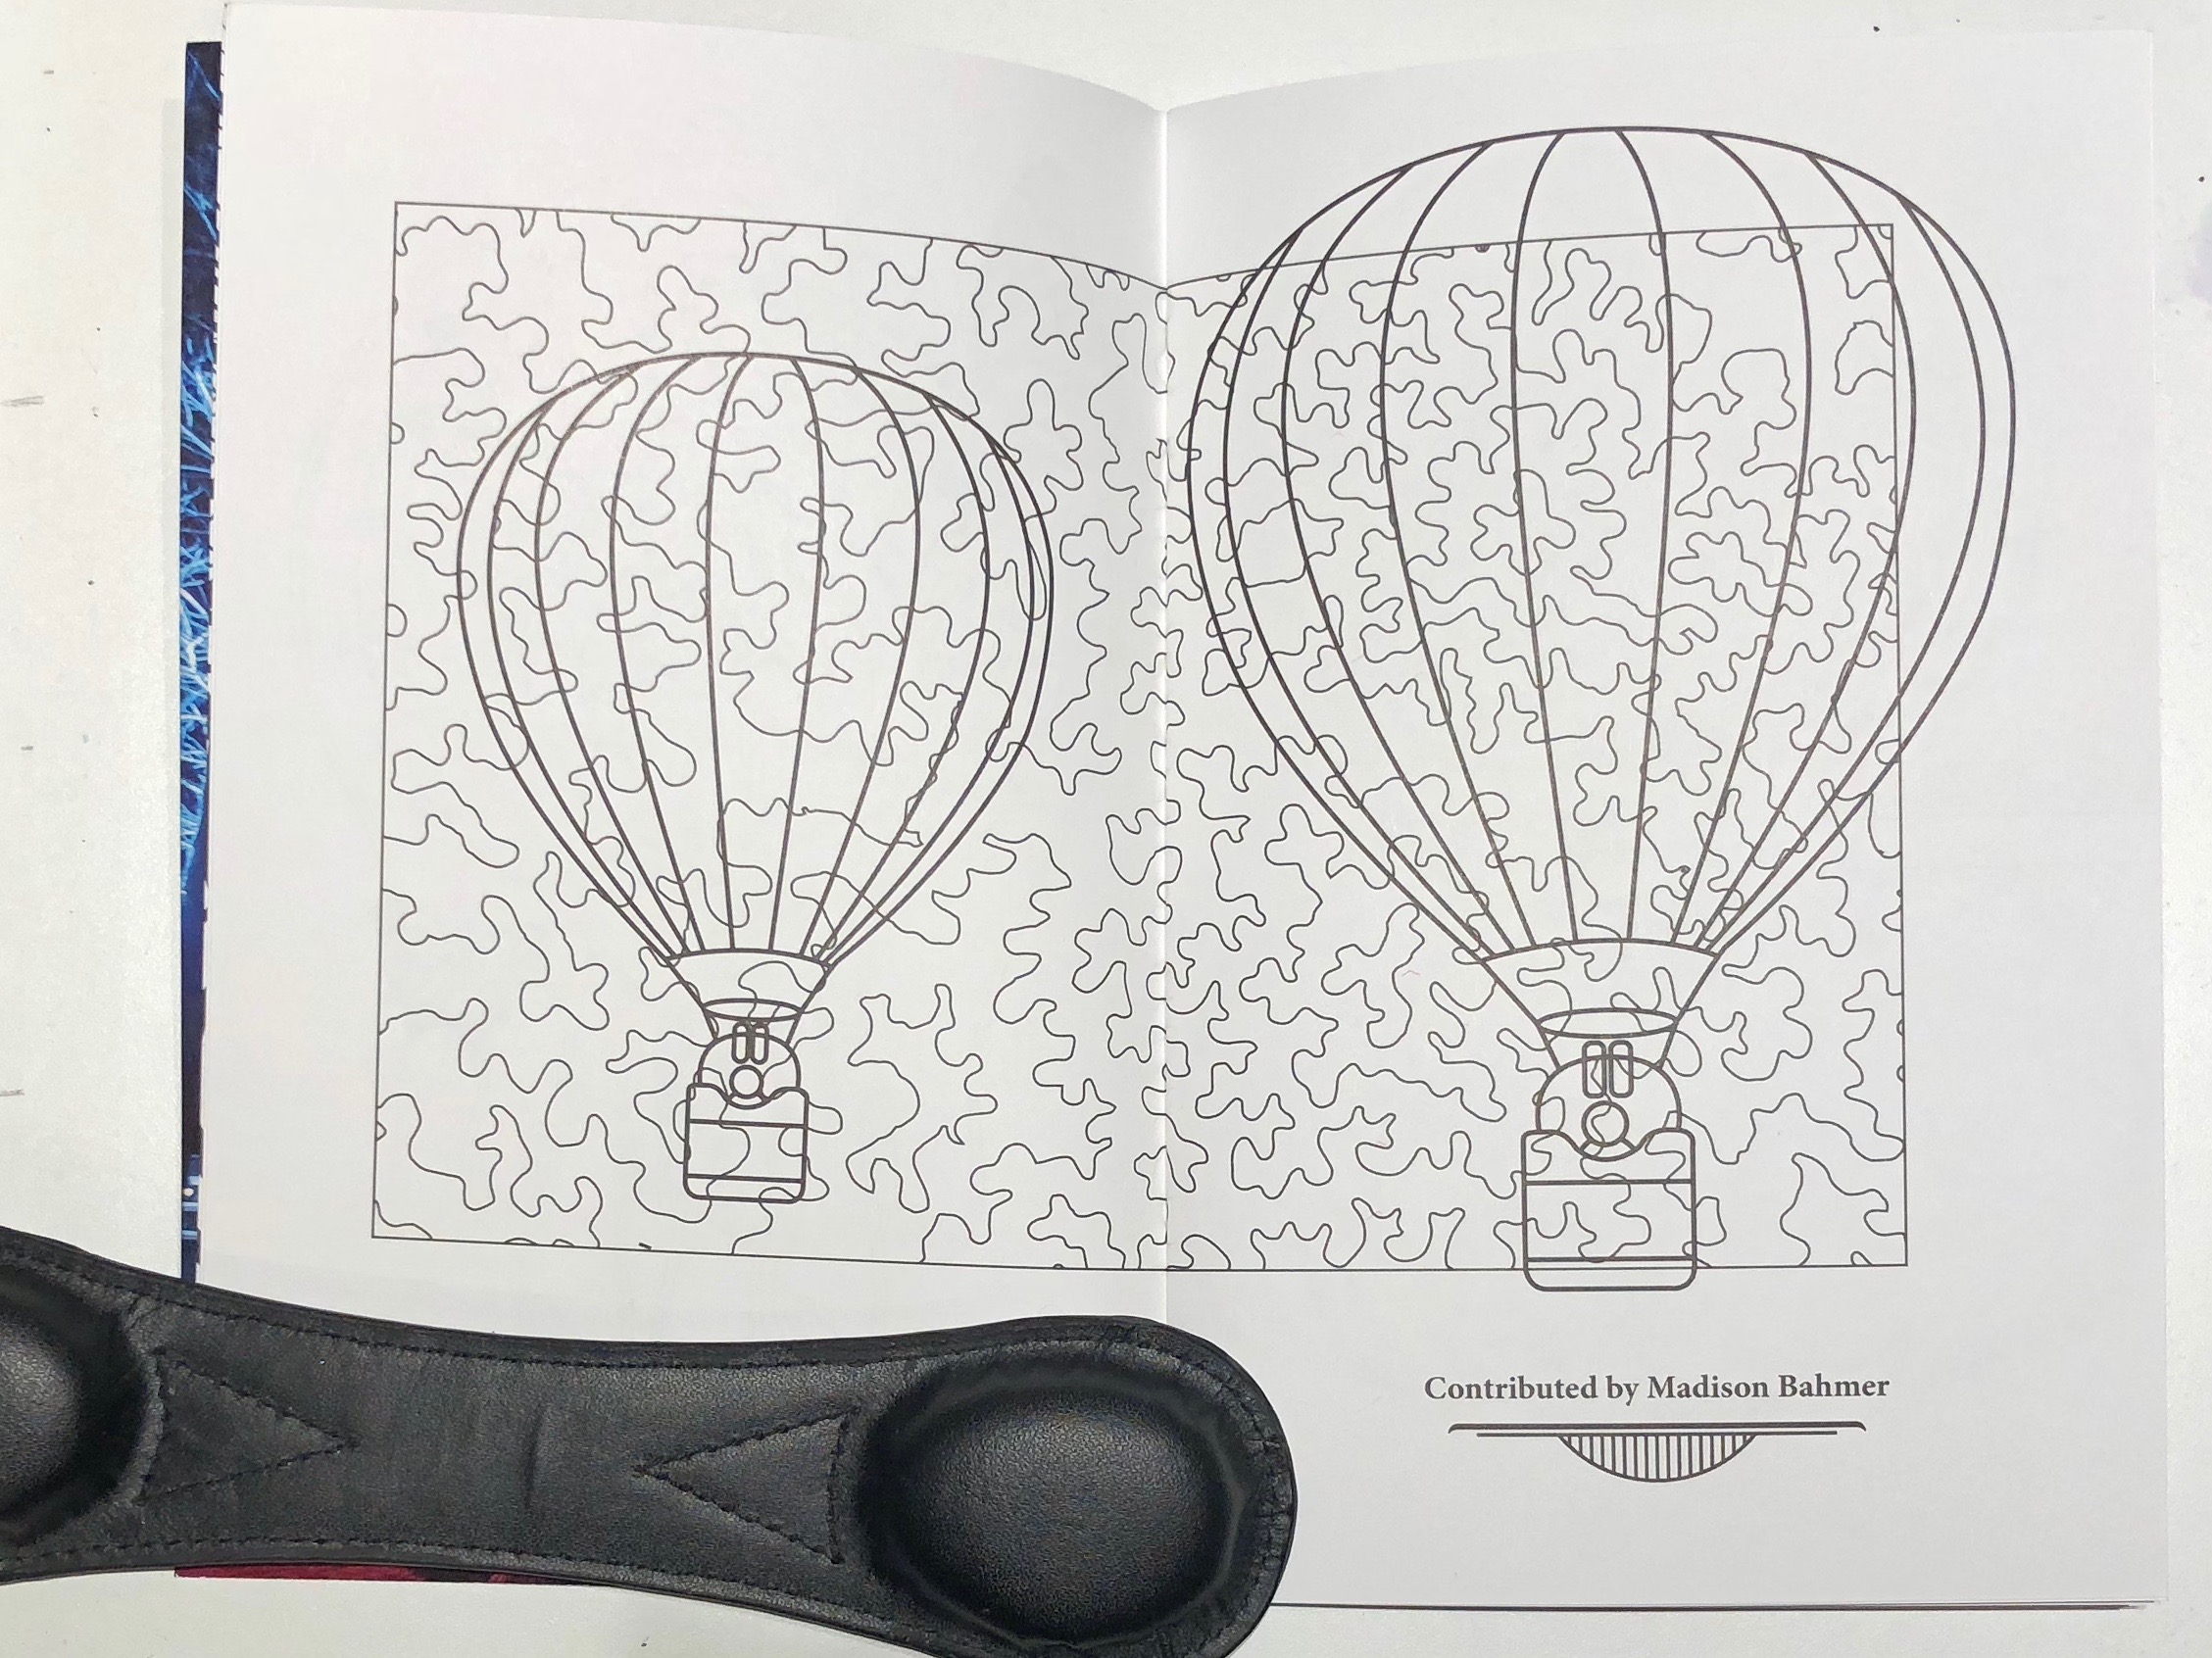
Here is the final version used in the book:

For example, if I were to color the page in I might have colored it to look like this:
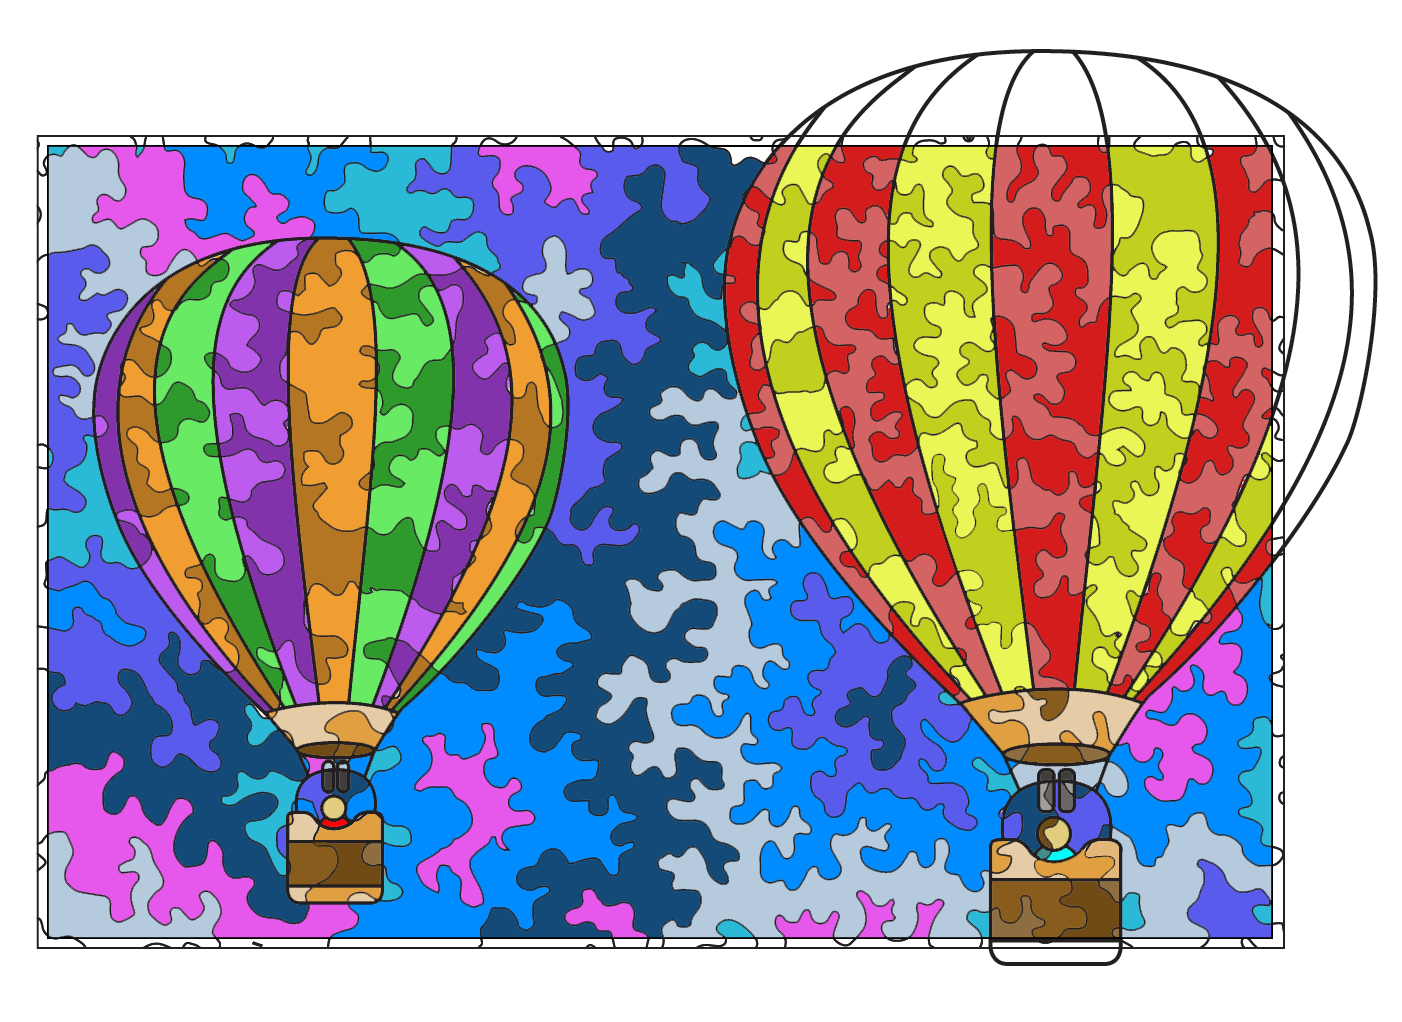
Happy coloring, and Happy Forest.
